installing leather interior
installing leather interior
basic how to guide
basic how to guide
follow the steps below at your own risk, but hopefully there are some tips to help you install the leather interior from AK
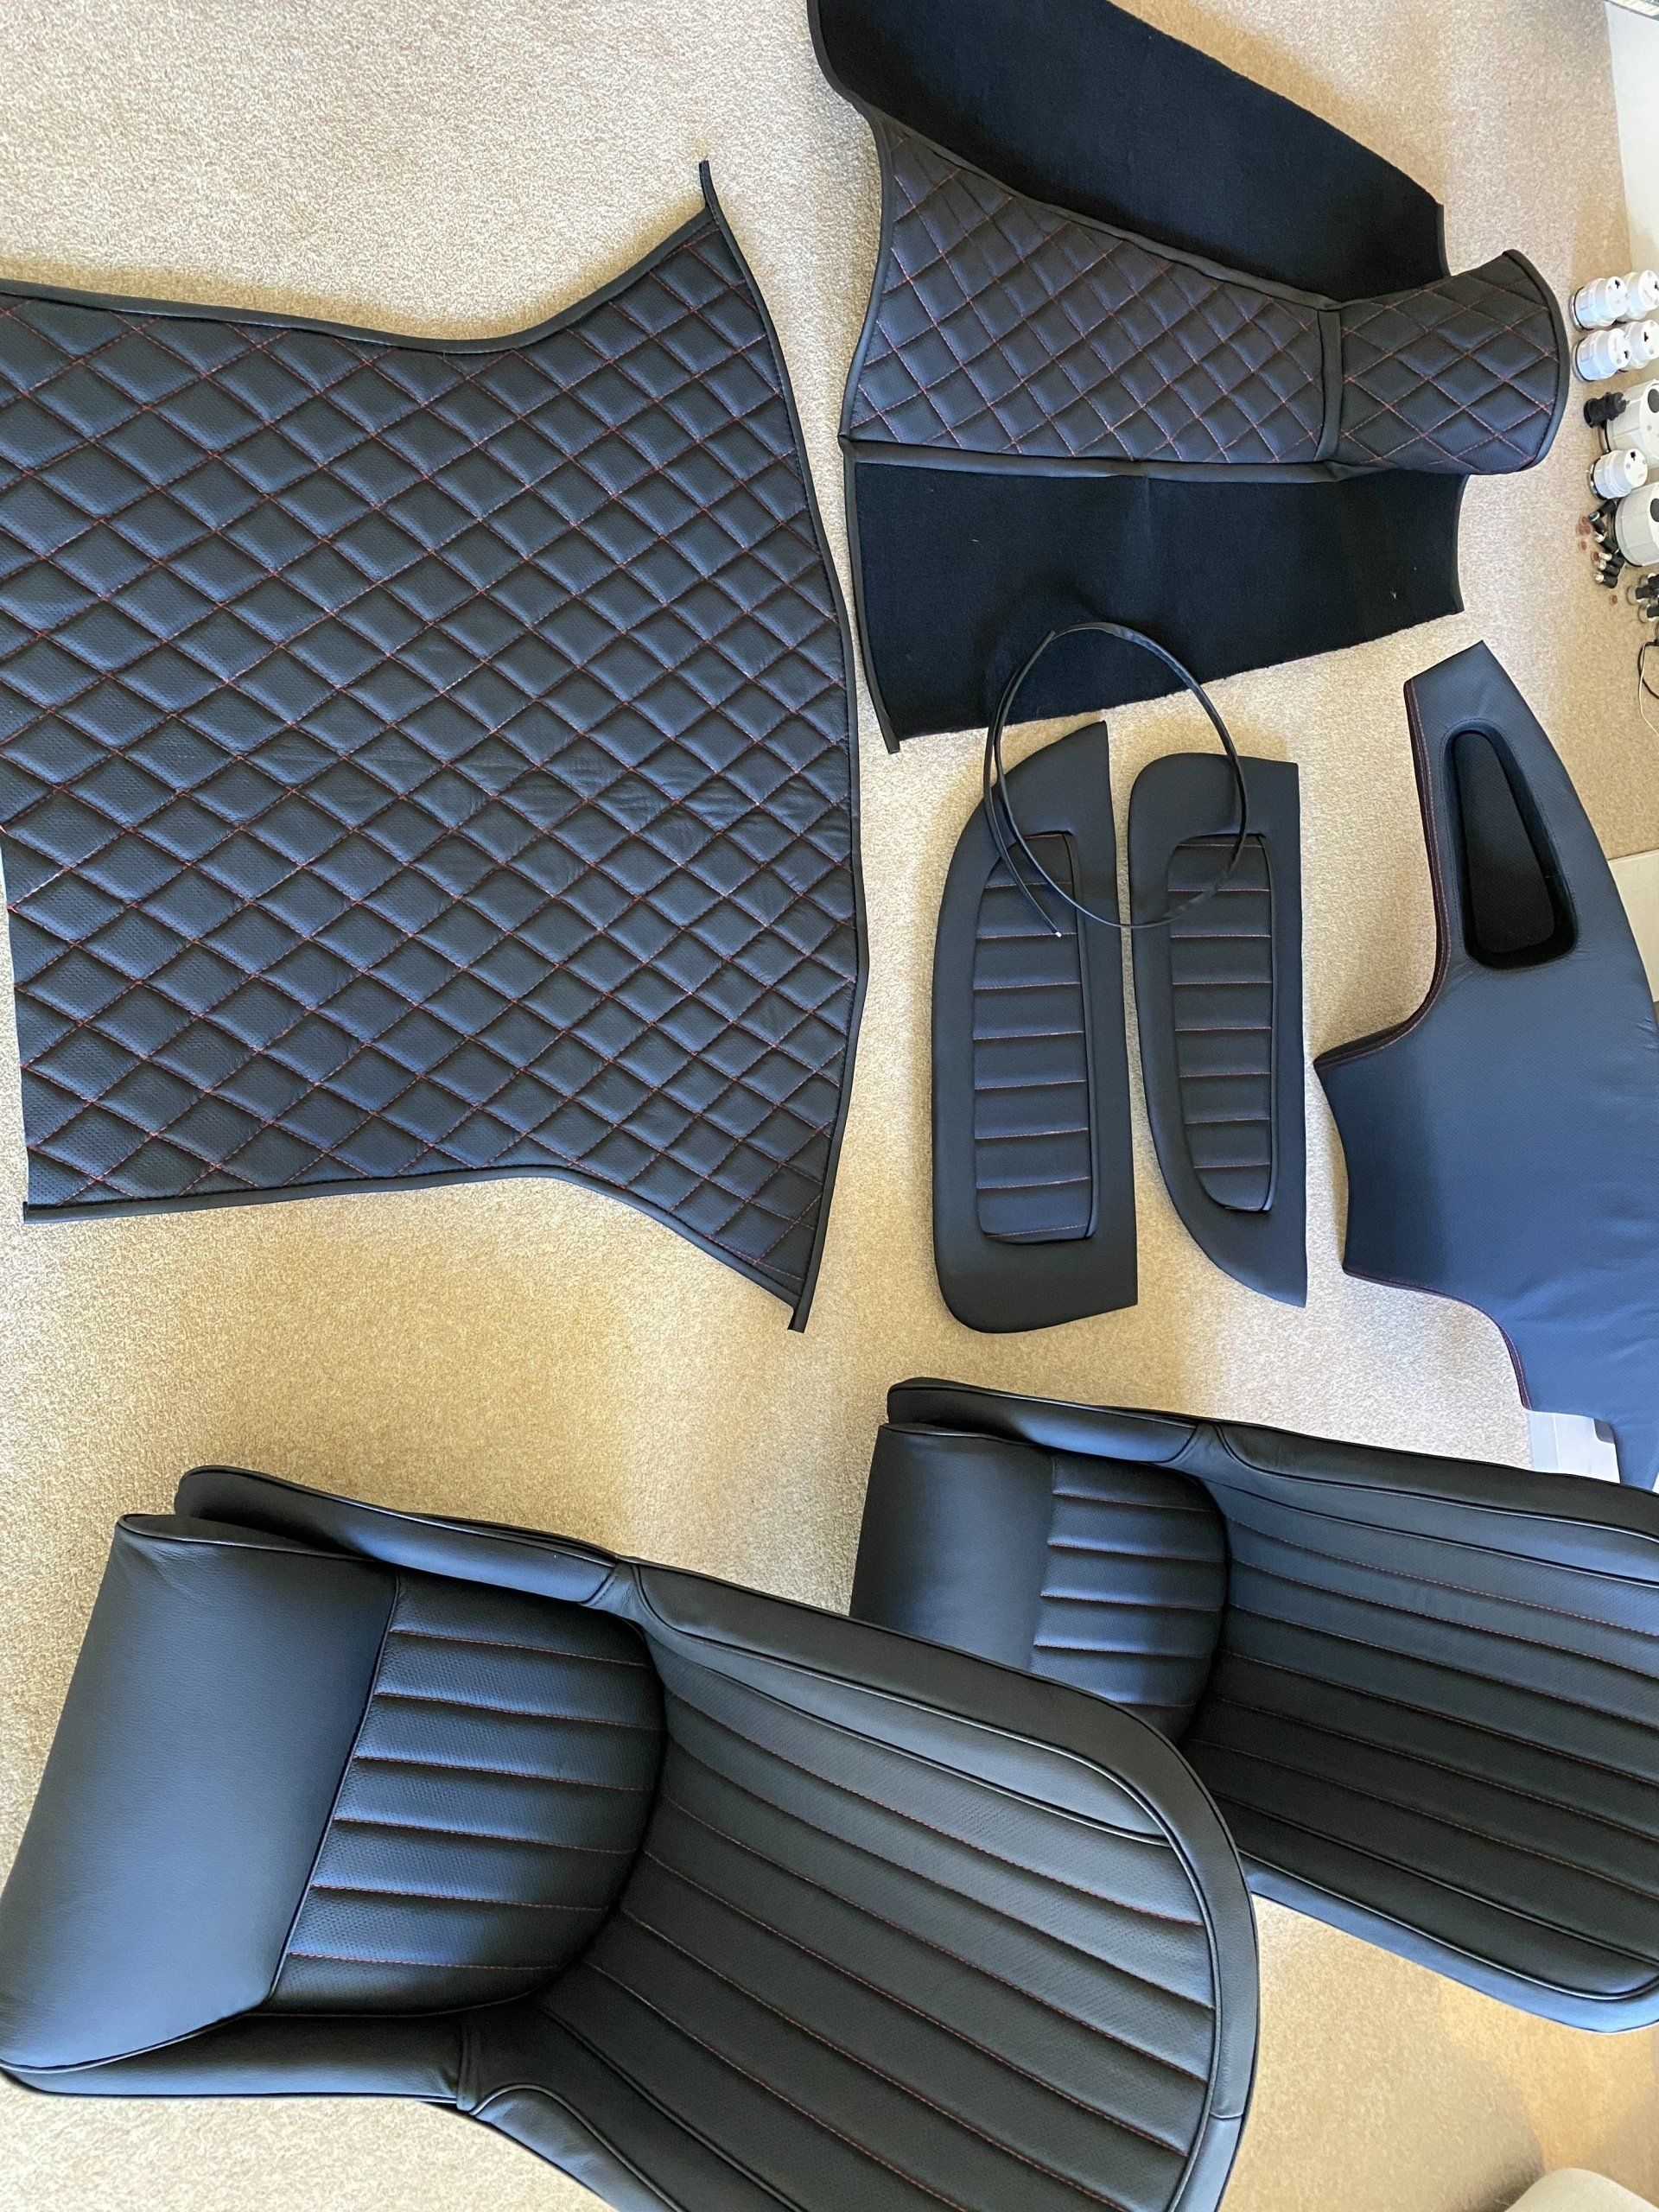
what you receive from AK
what you receive from AK
the leather interior from AK is slightly over priced for what you get, considering you will have also installed the carpet yourself and you will be installing the leather as well. The stitching is very good but but not quite 100%.
I see that Intatrim will do a full leather interior for £3500 and obviously they install everything, however there is a long waiting list and you have to leave your car with them for a week and this is where the AK option is preferable as you may only have a 4 week wait before you collect.
Also the seats have bolts on the back for fitting of the head rest for IVA, so no unsightly holes in the top etc.


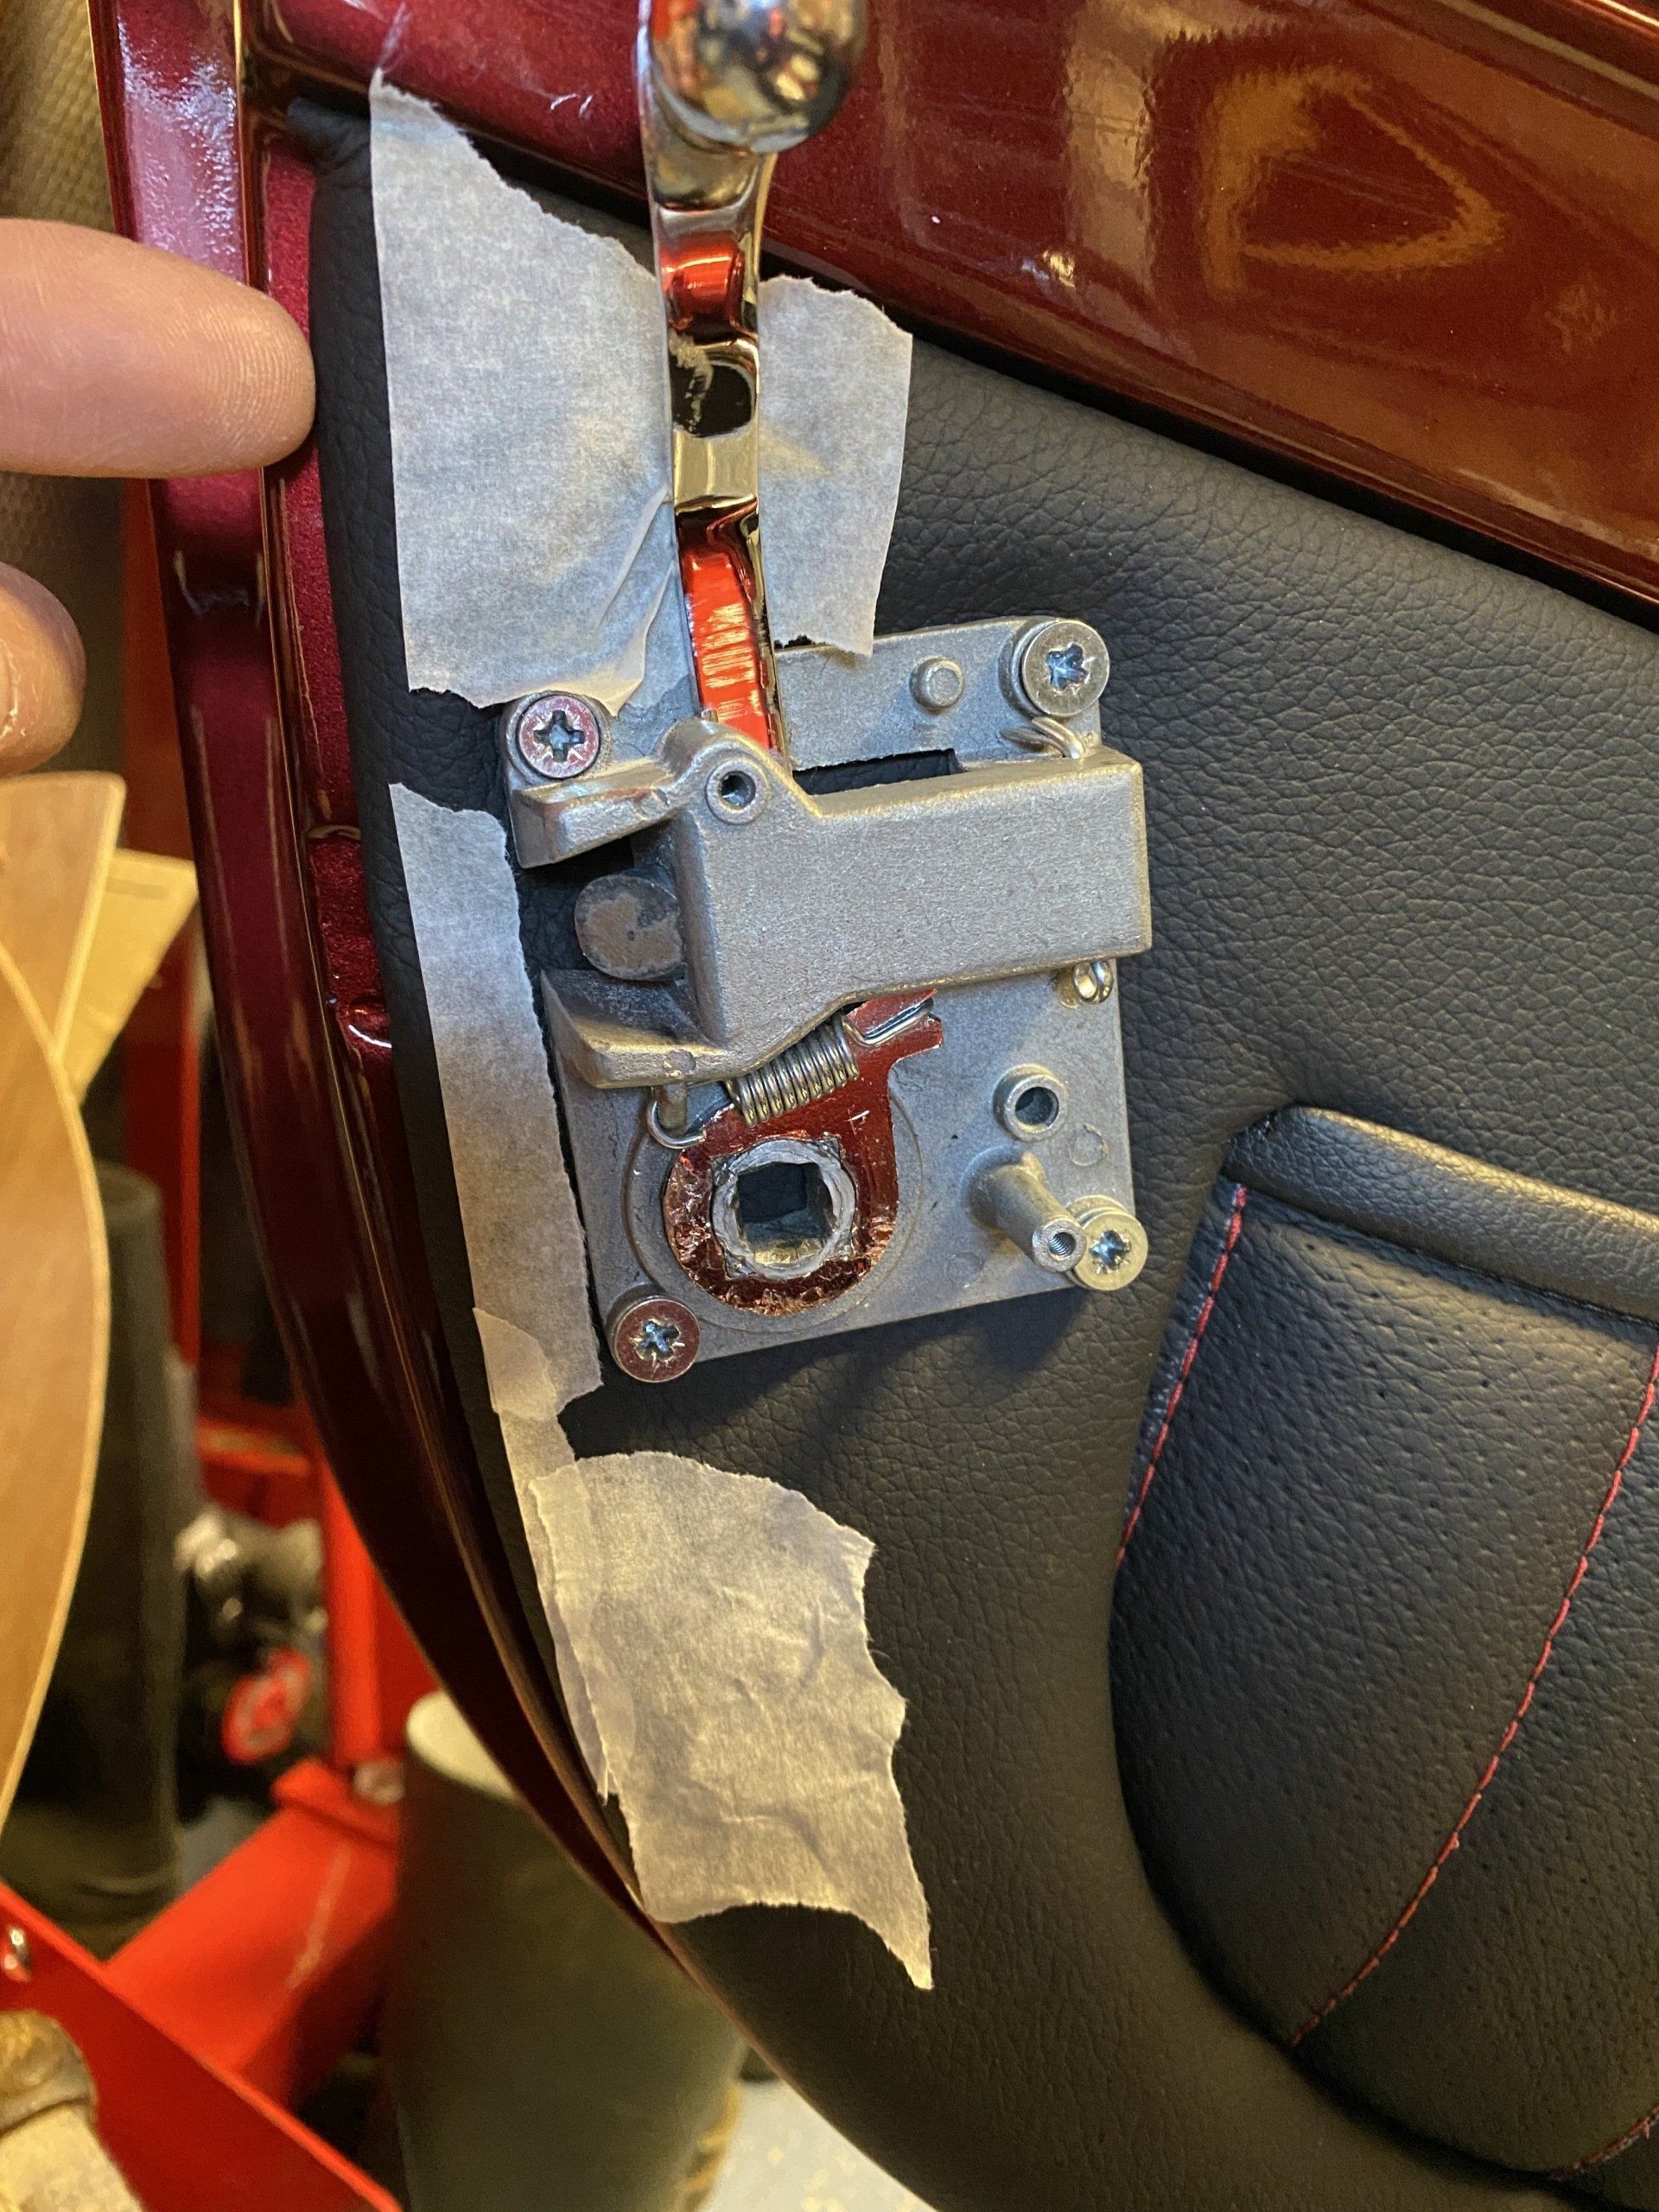
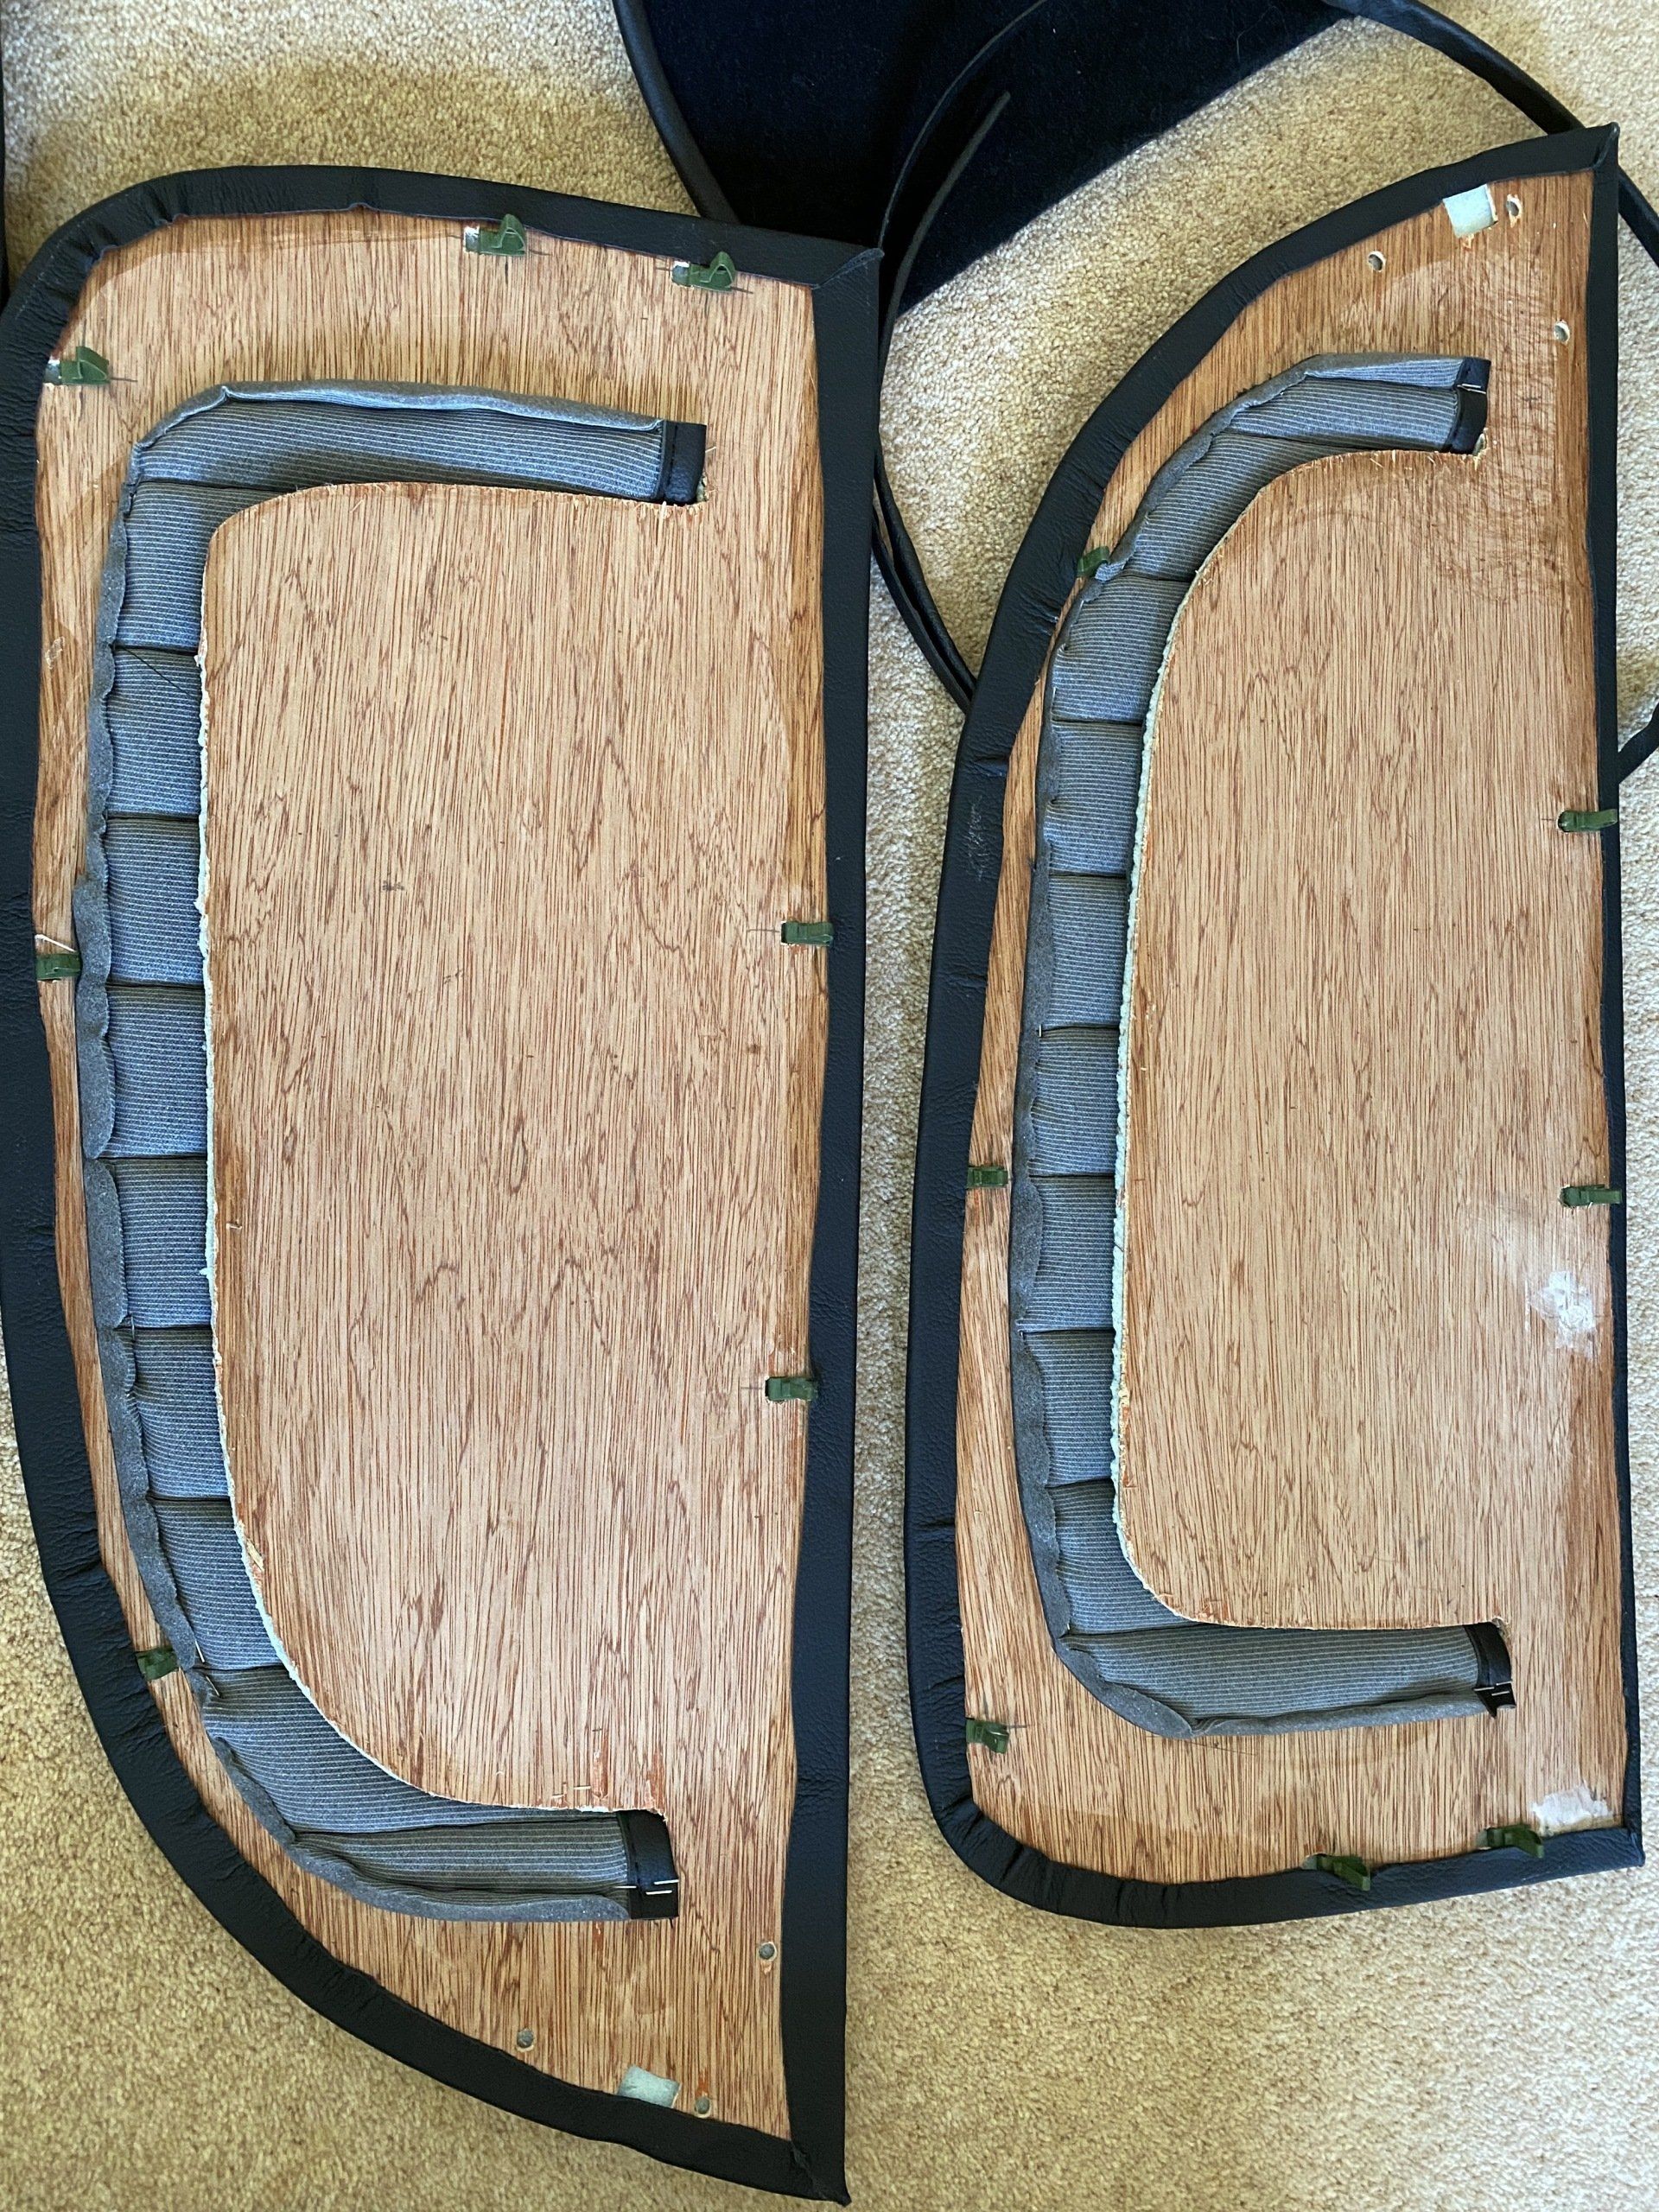
note that the door cards must be cut correctly as the padding and the leather will not allow doors to close properly if too large, however it is fairly easy to pull back the leather and carefully trim an edge of the ply and then re-stick the leather.
Pay attention where you install your green clips from woolies along the bottom, as your door will be cut for pocket install and it may foul the clips. I guess 10-15mm from edge is ok.
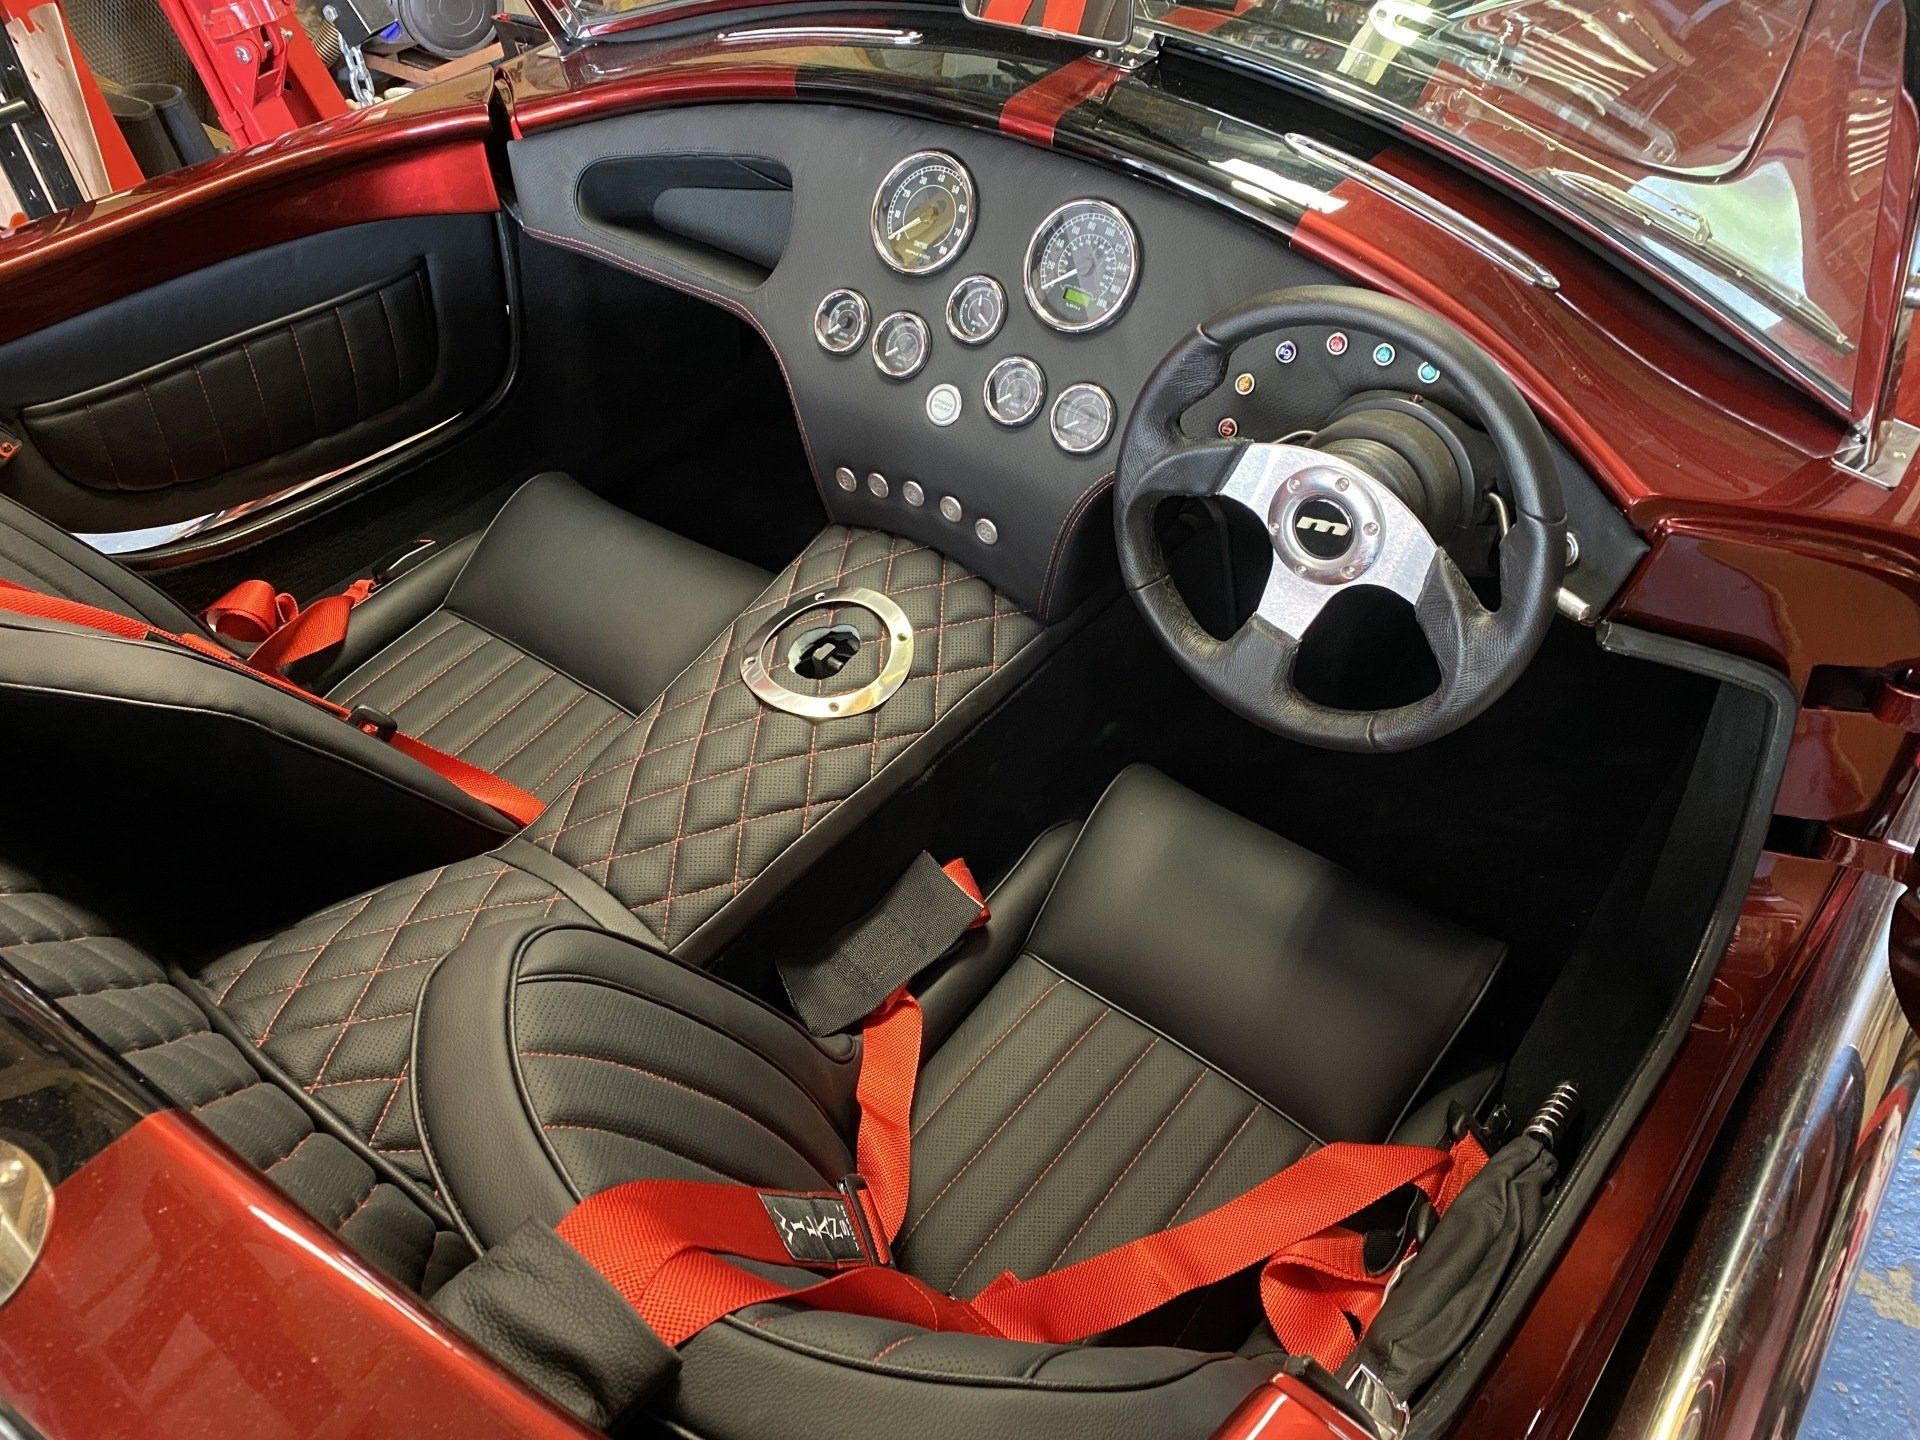
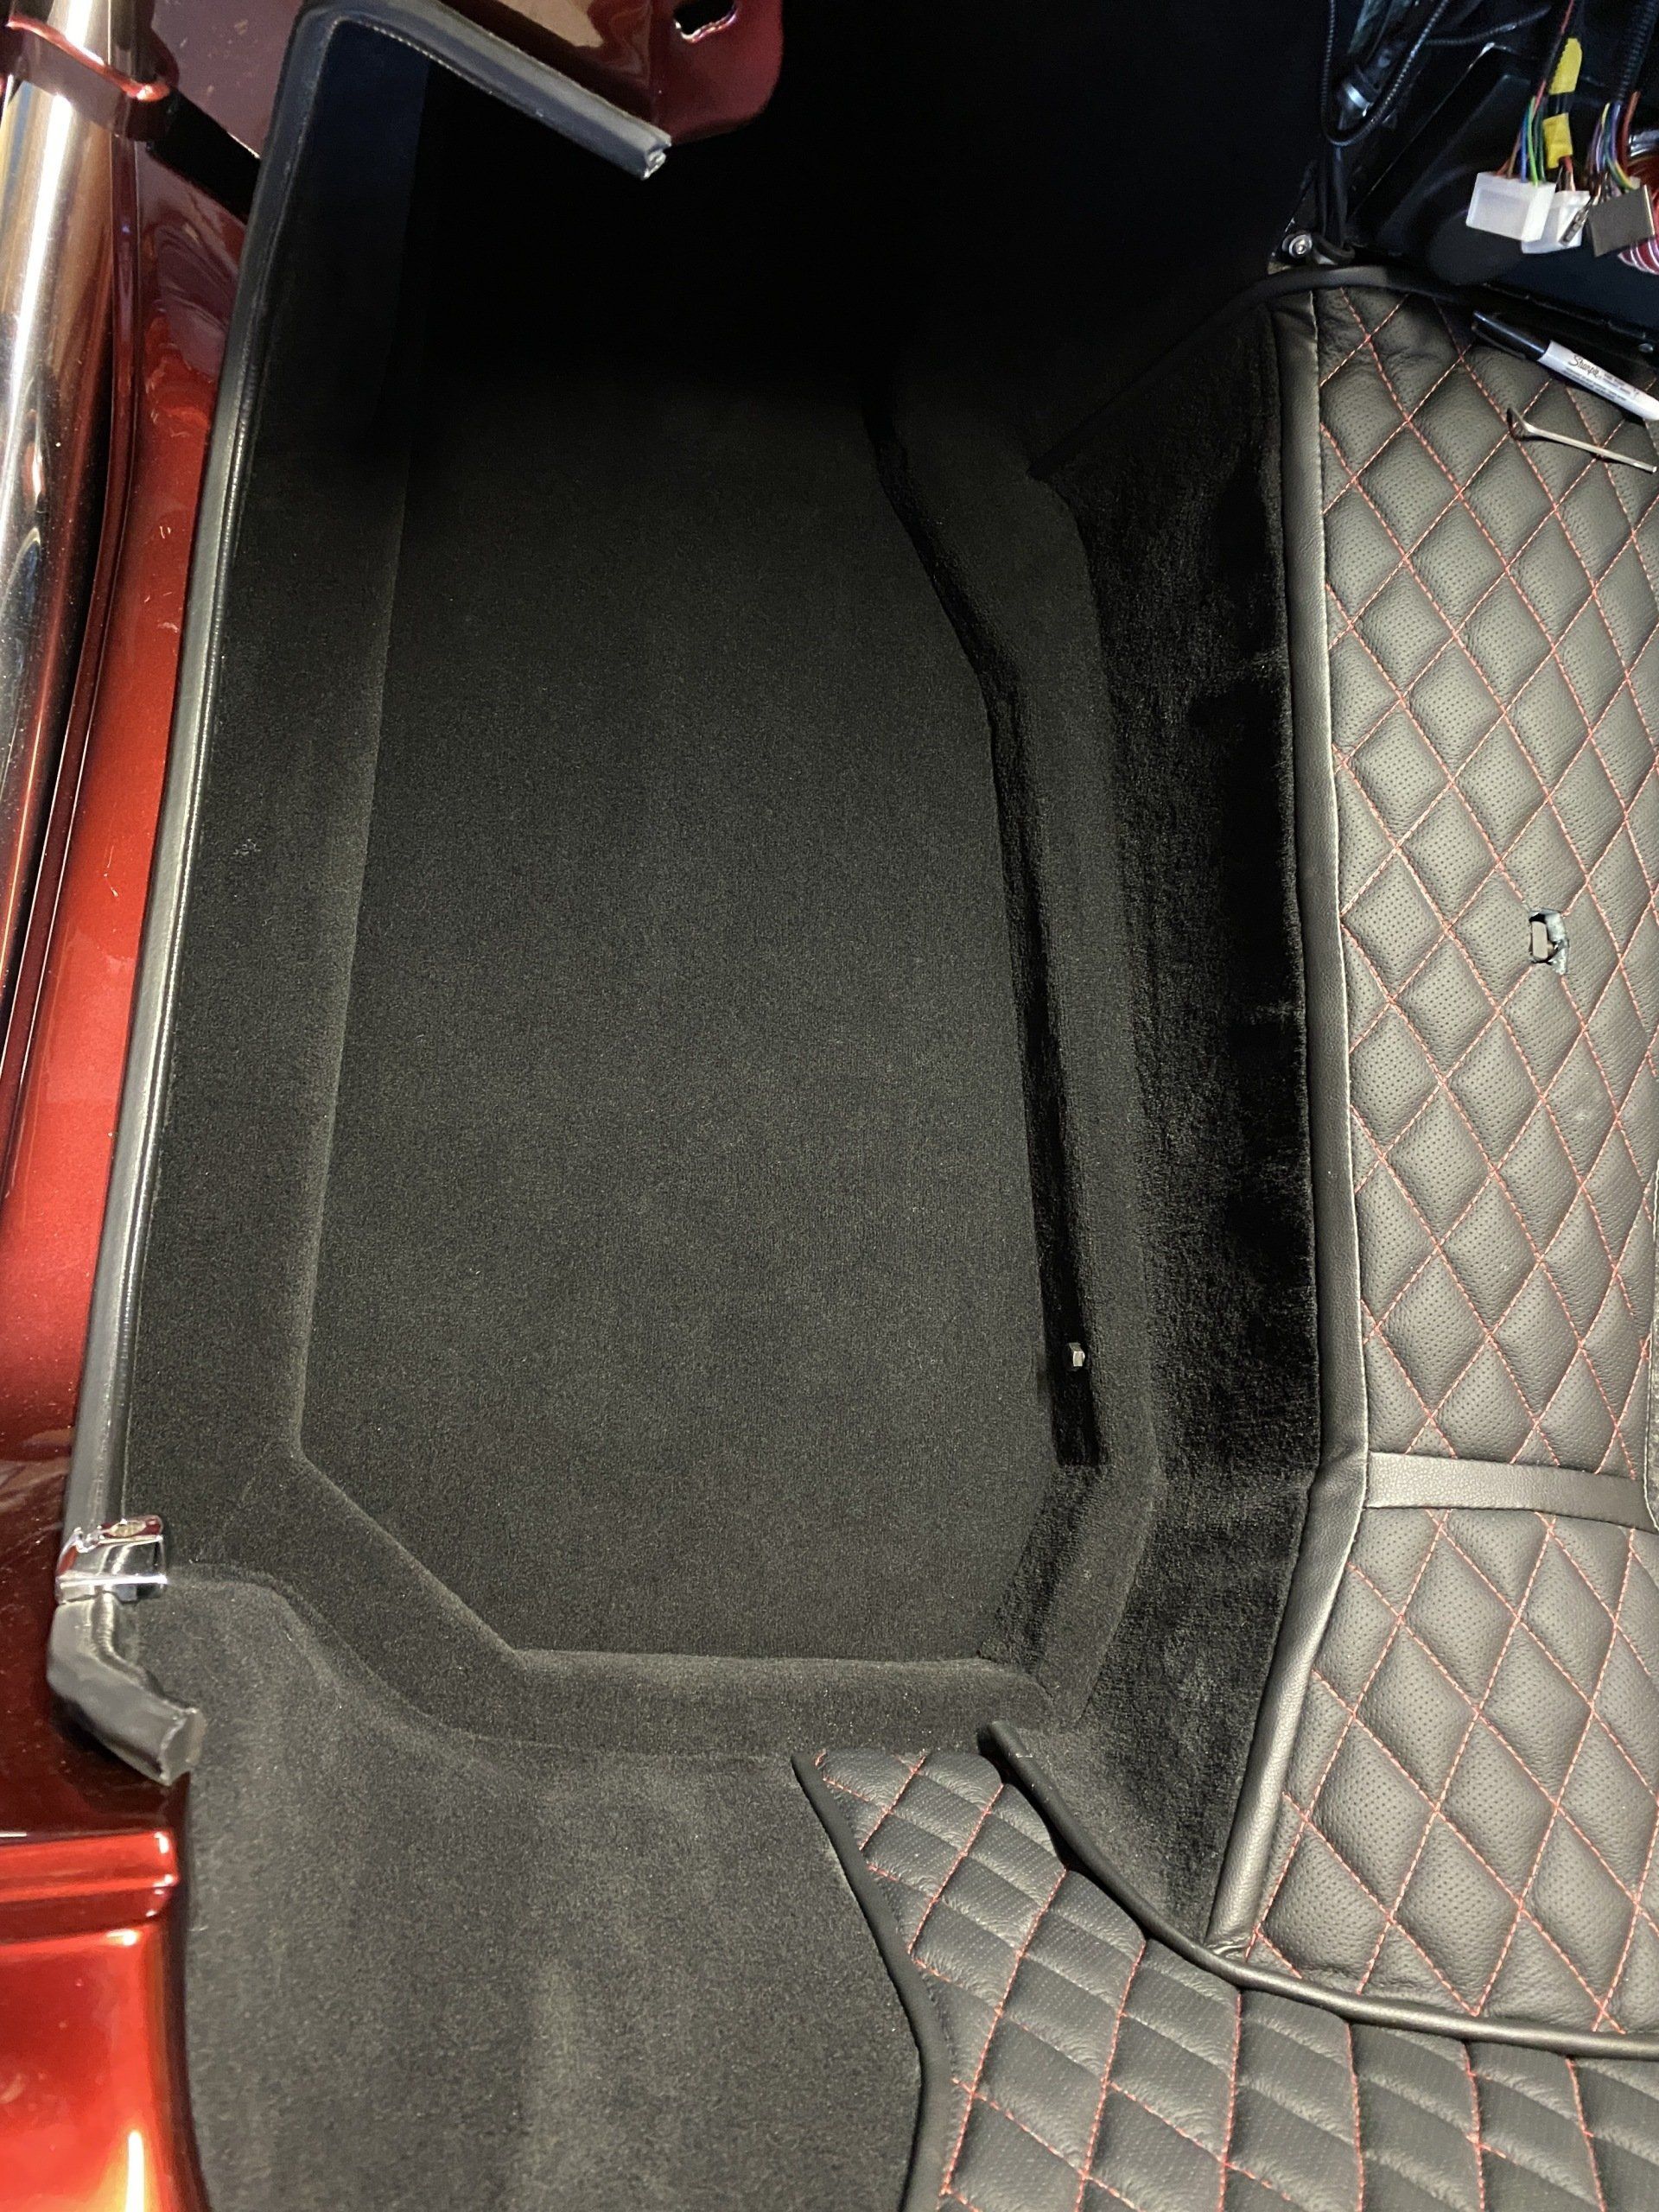
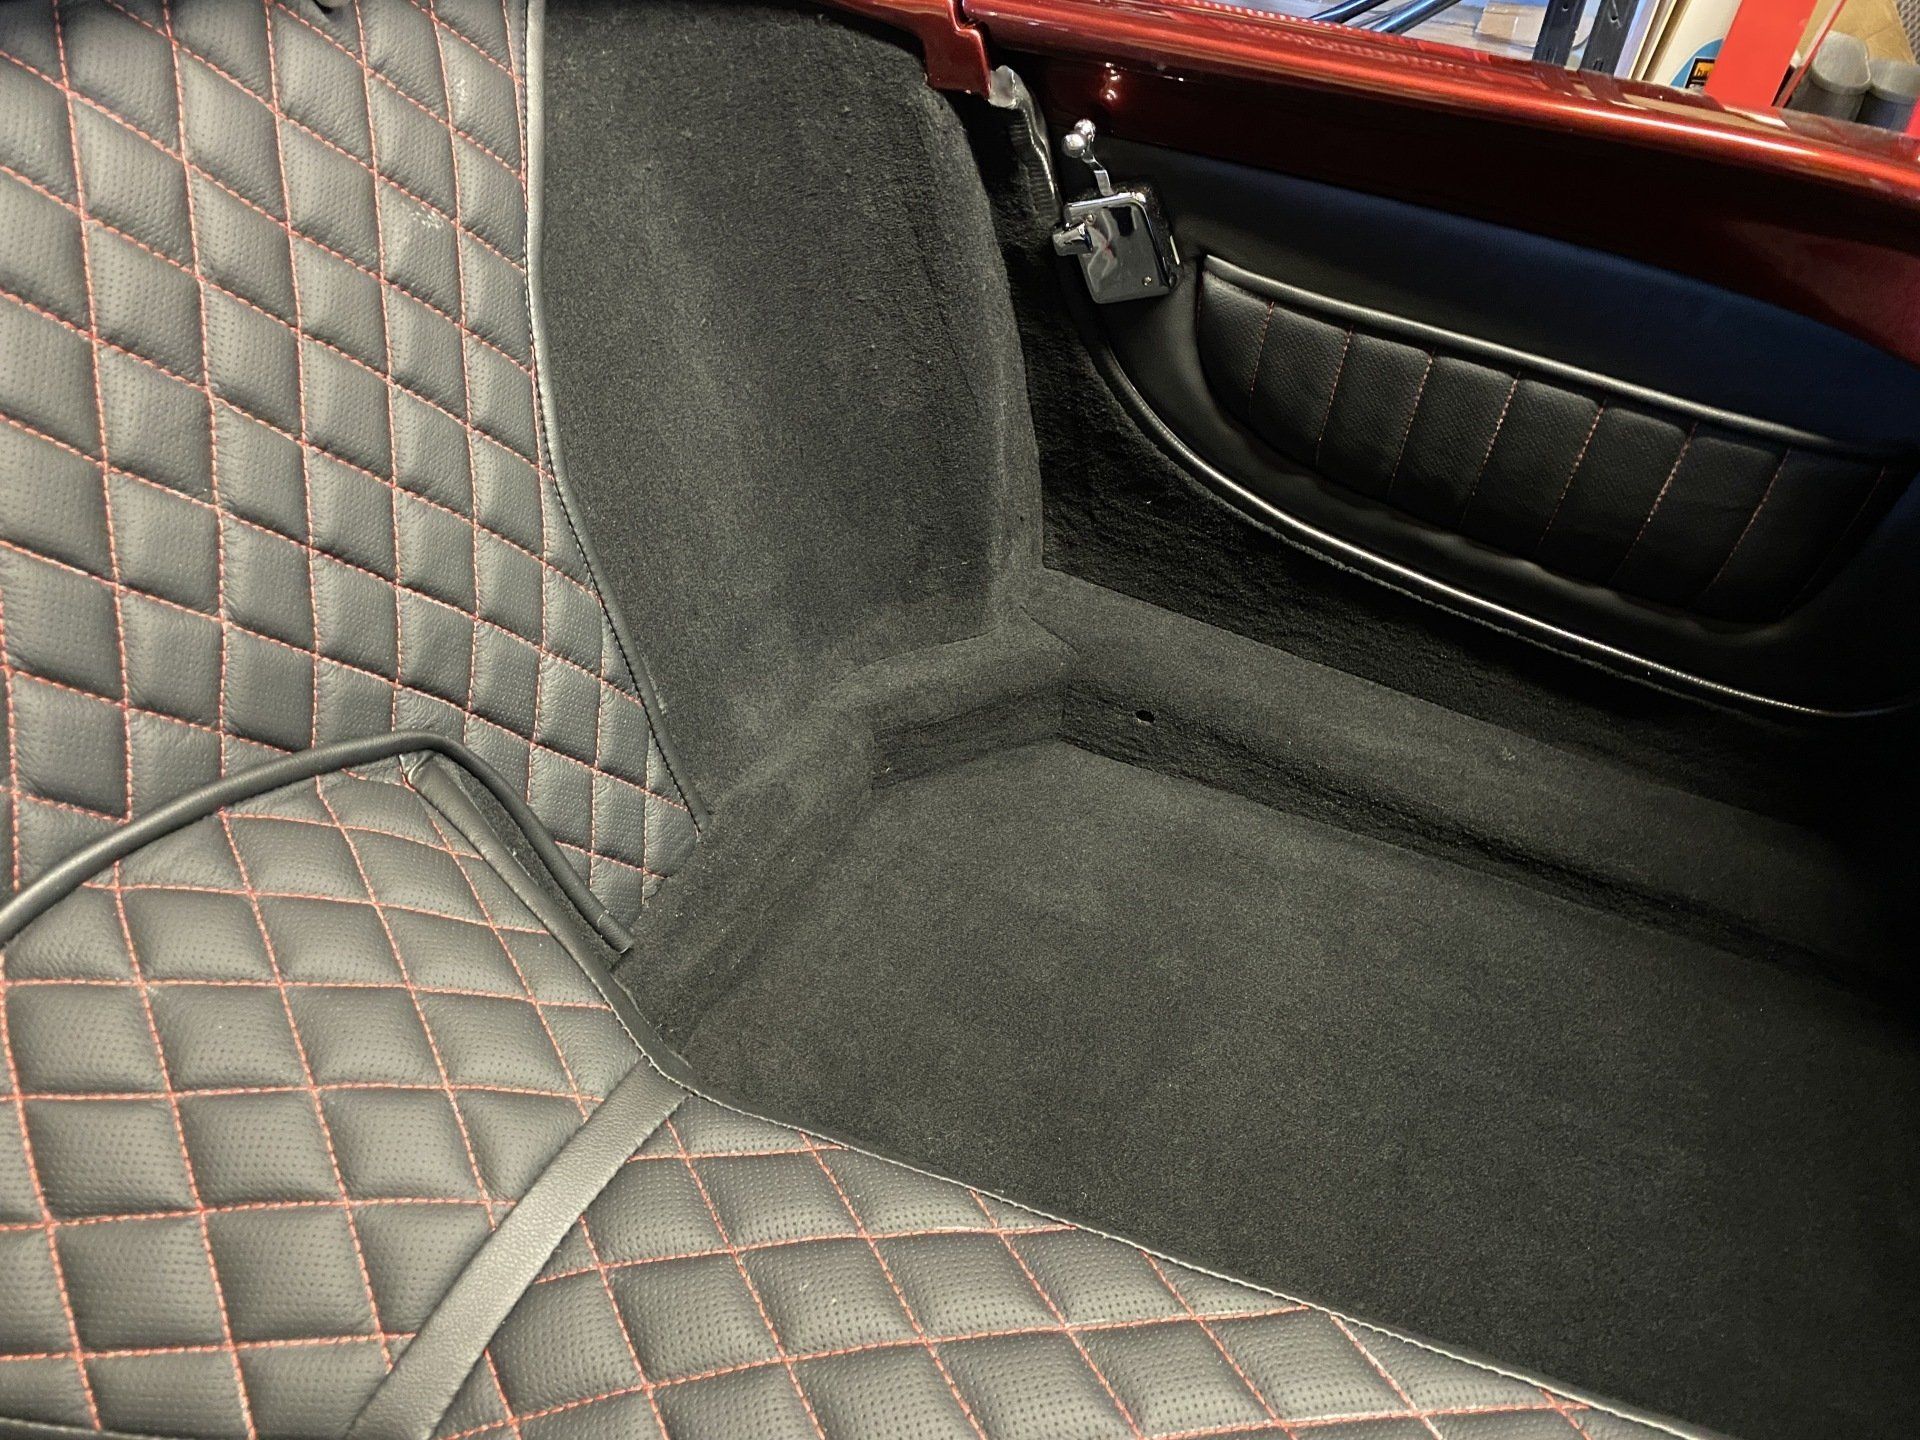
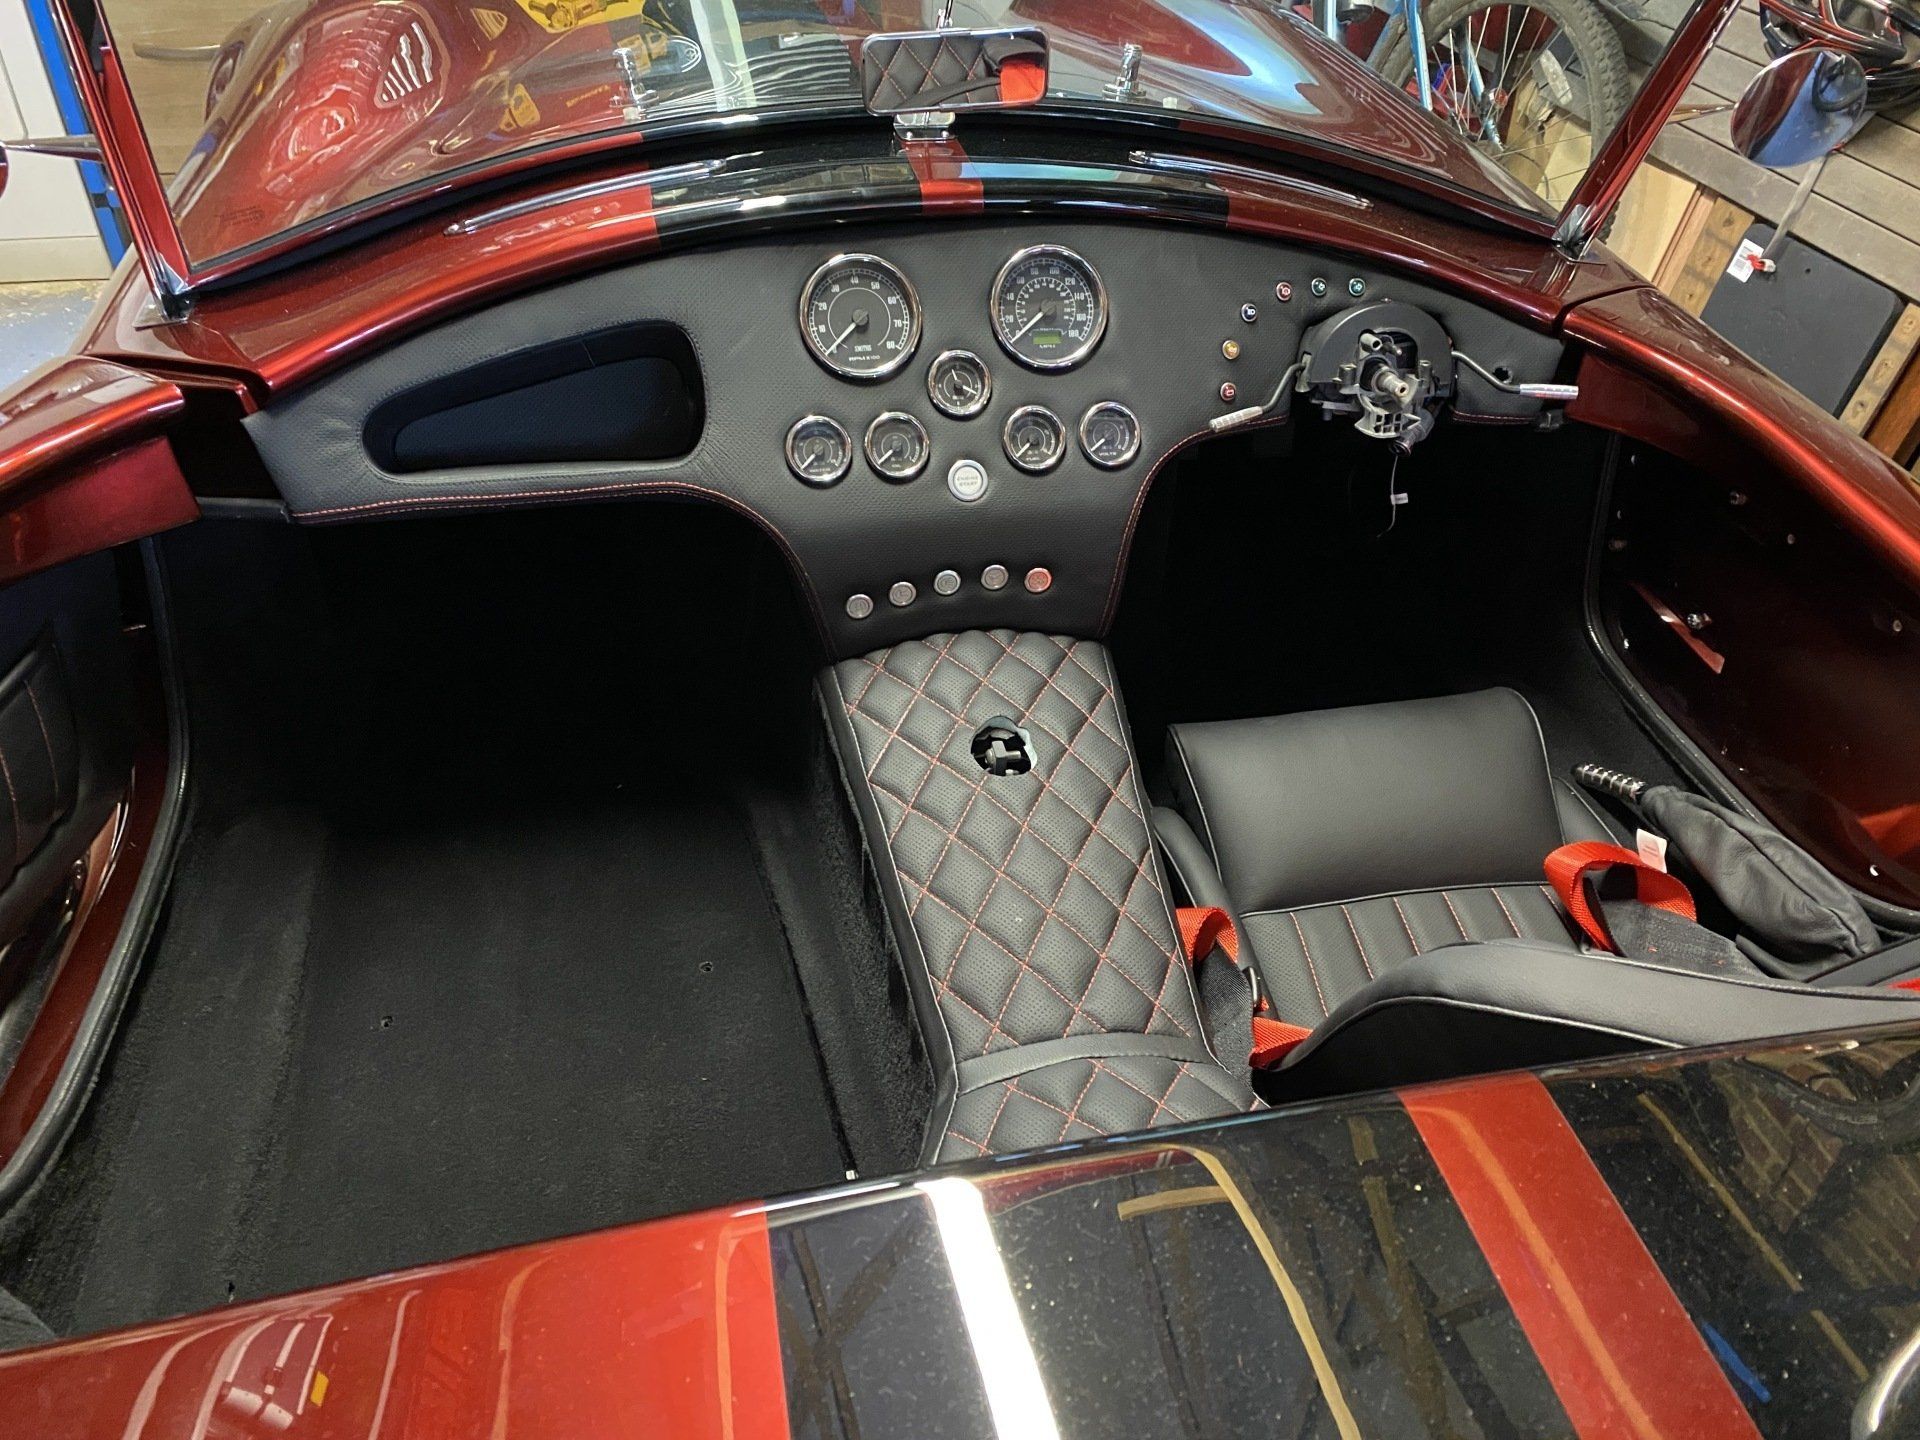
The pictures above show the deluxe interior package which includes the back panel and gearstick and handbrake gaitor\covers.
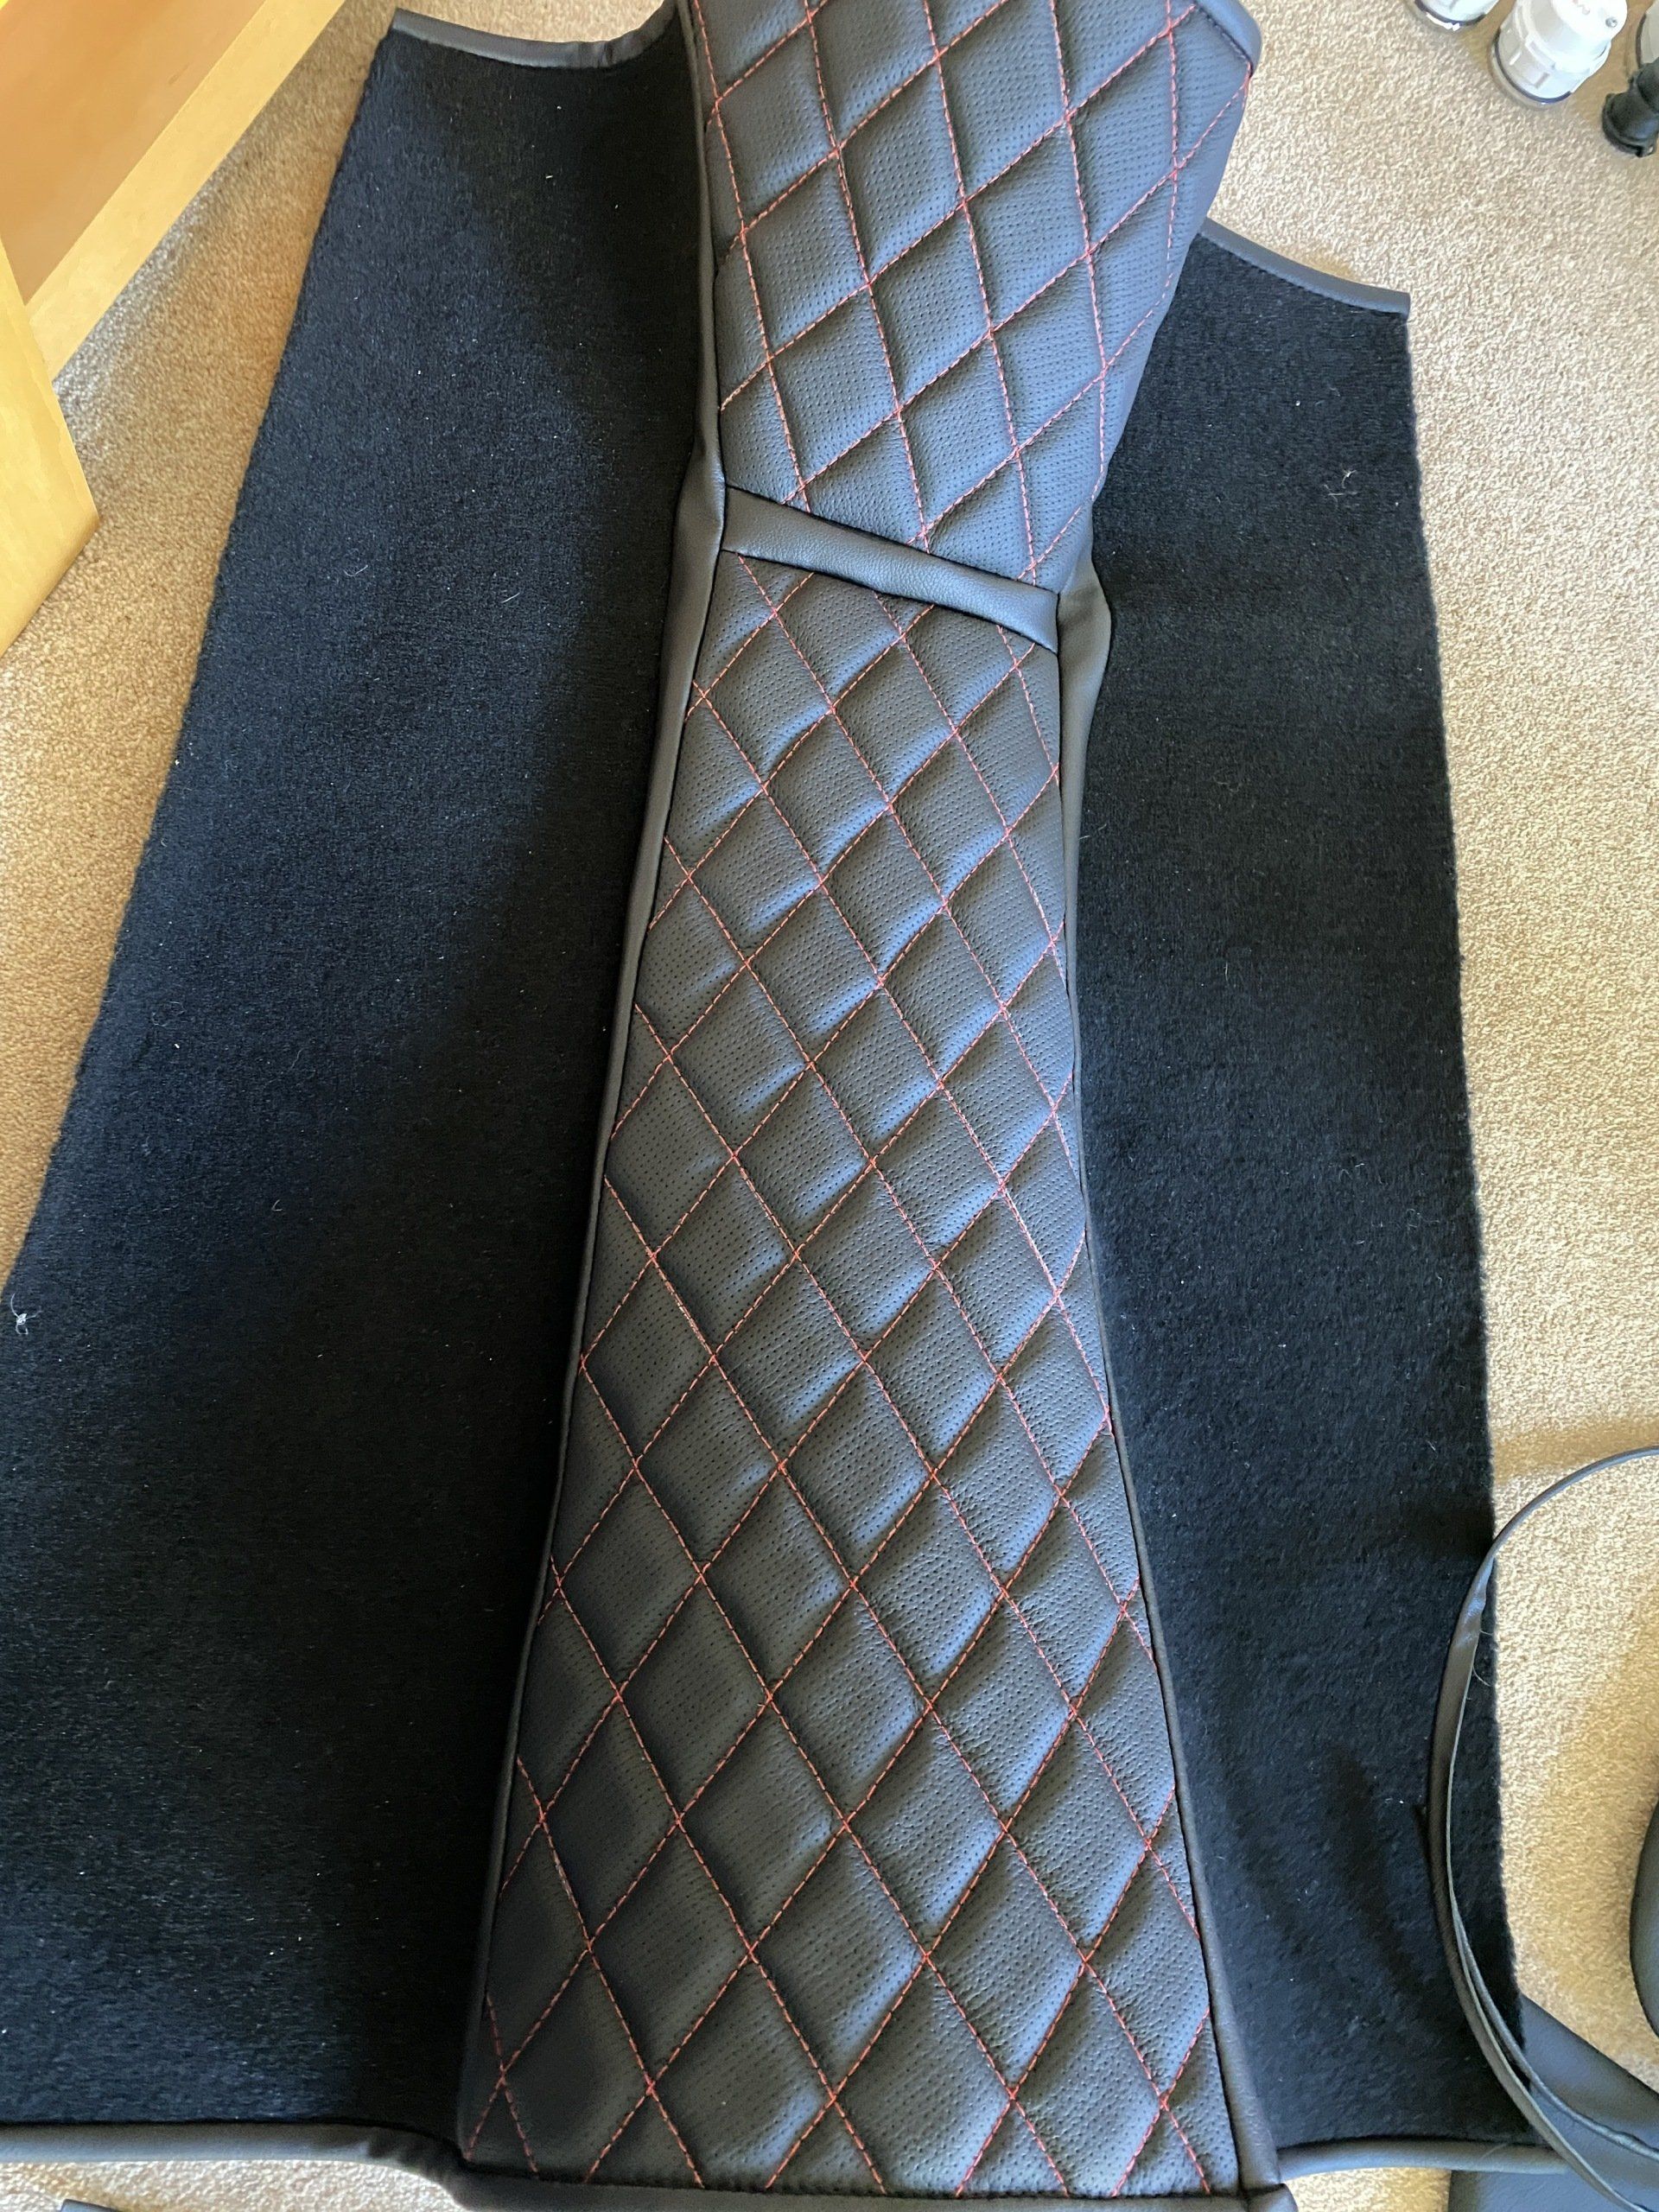
Mine was also a little more expensive as i chose perforated leather, curved tunnel and diamond stitching.
installing the back bulkhead
installing the back bulkhead
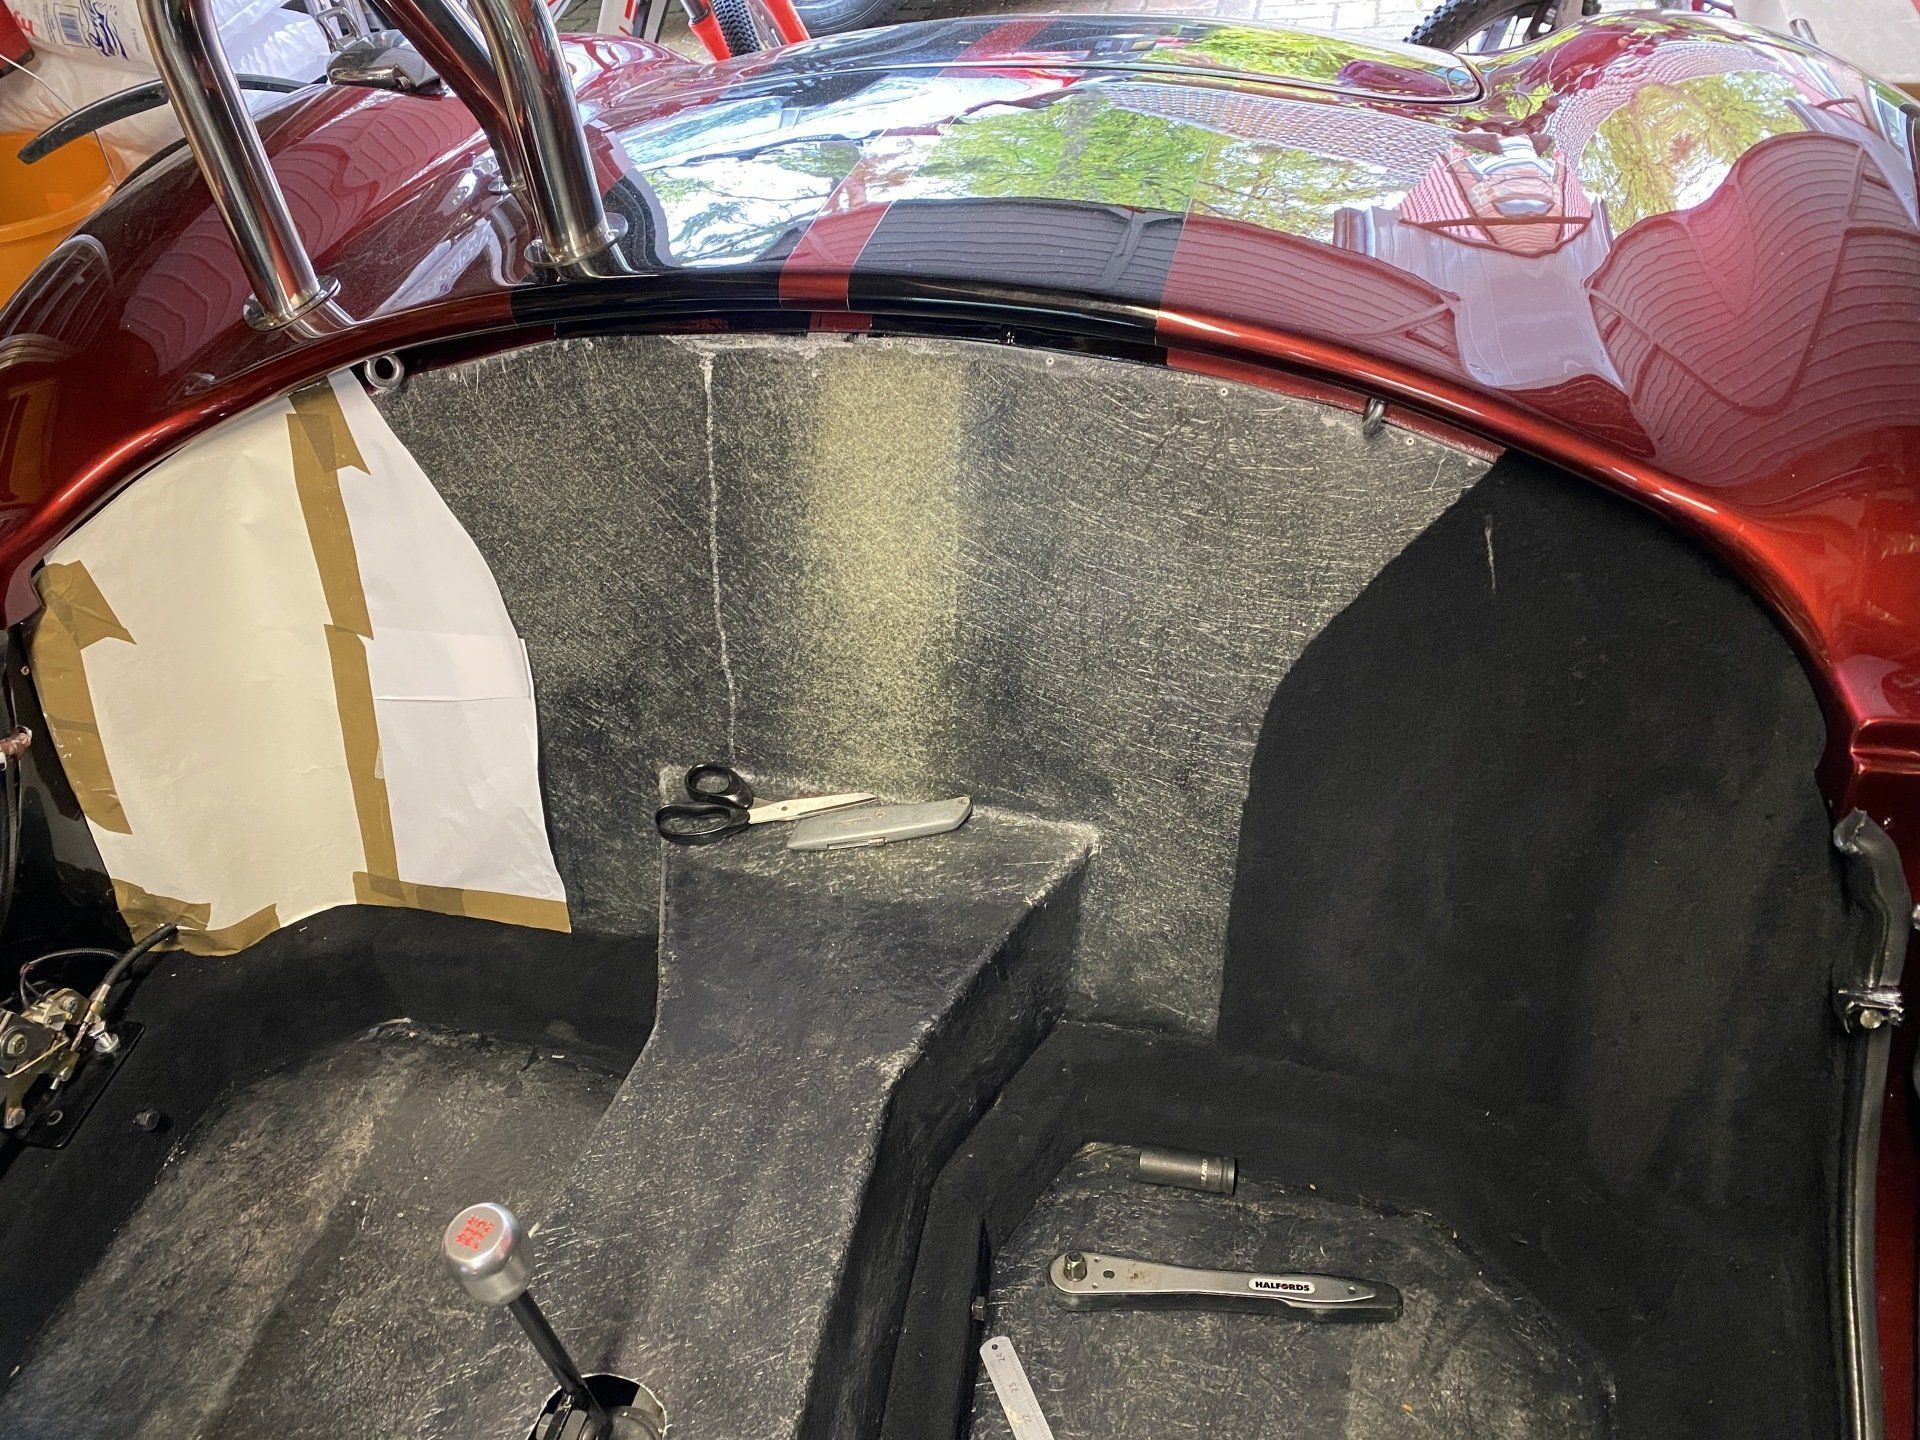
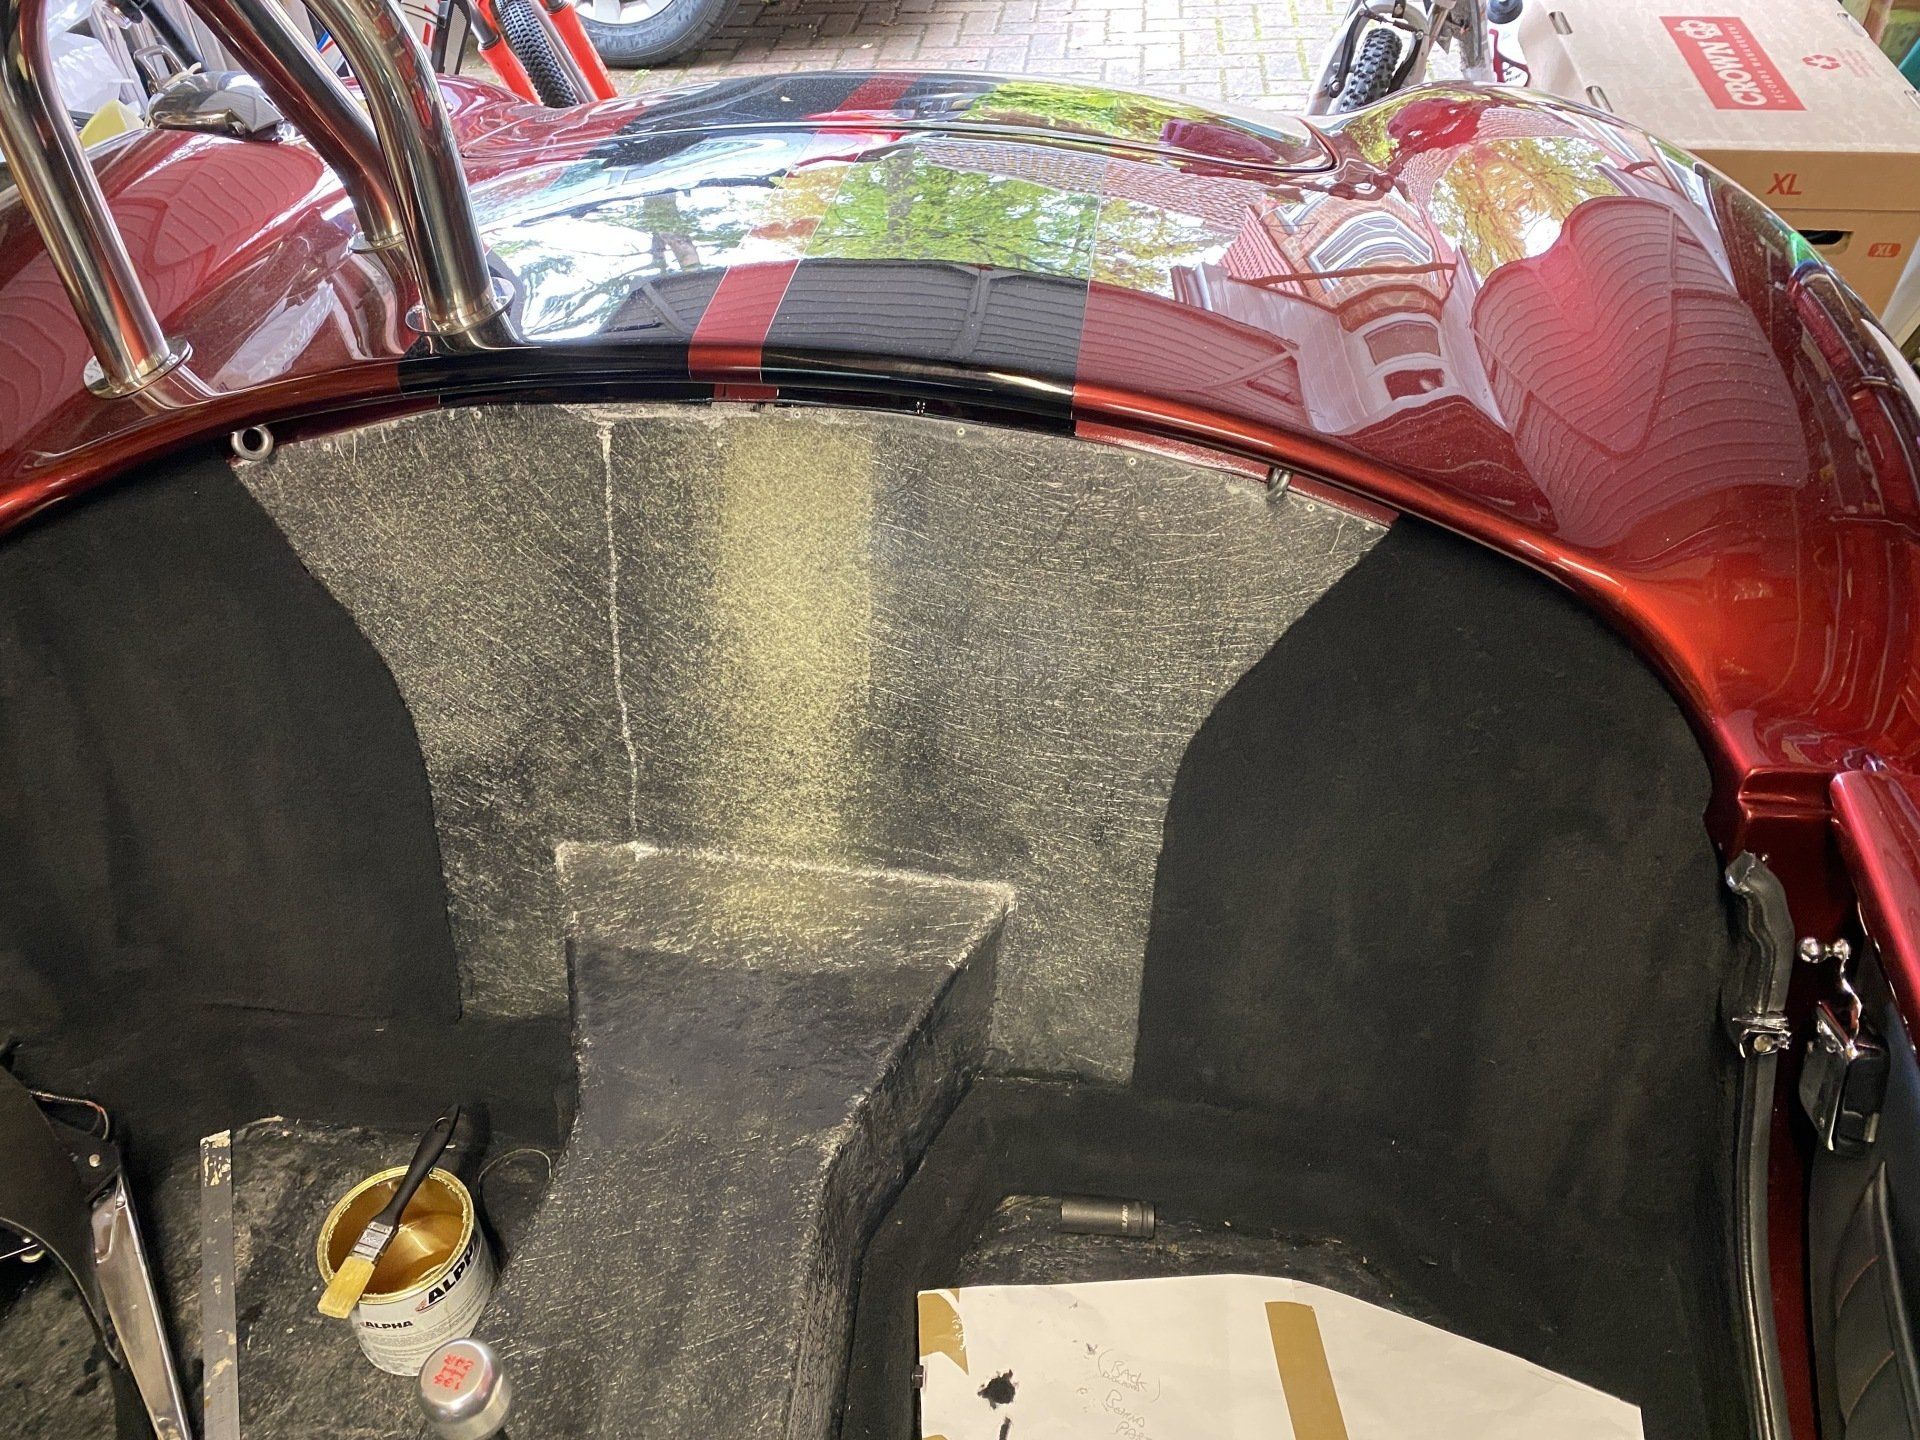
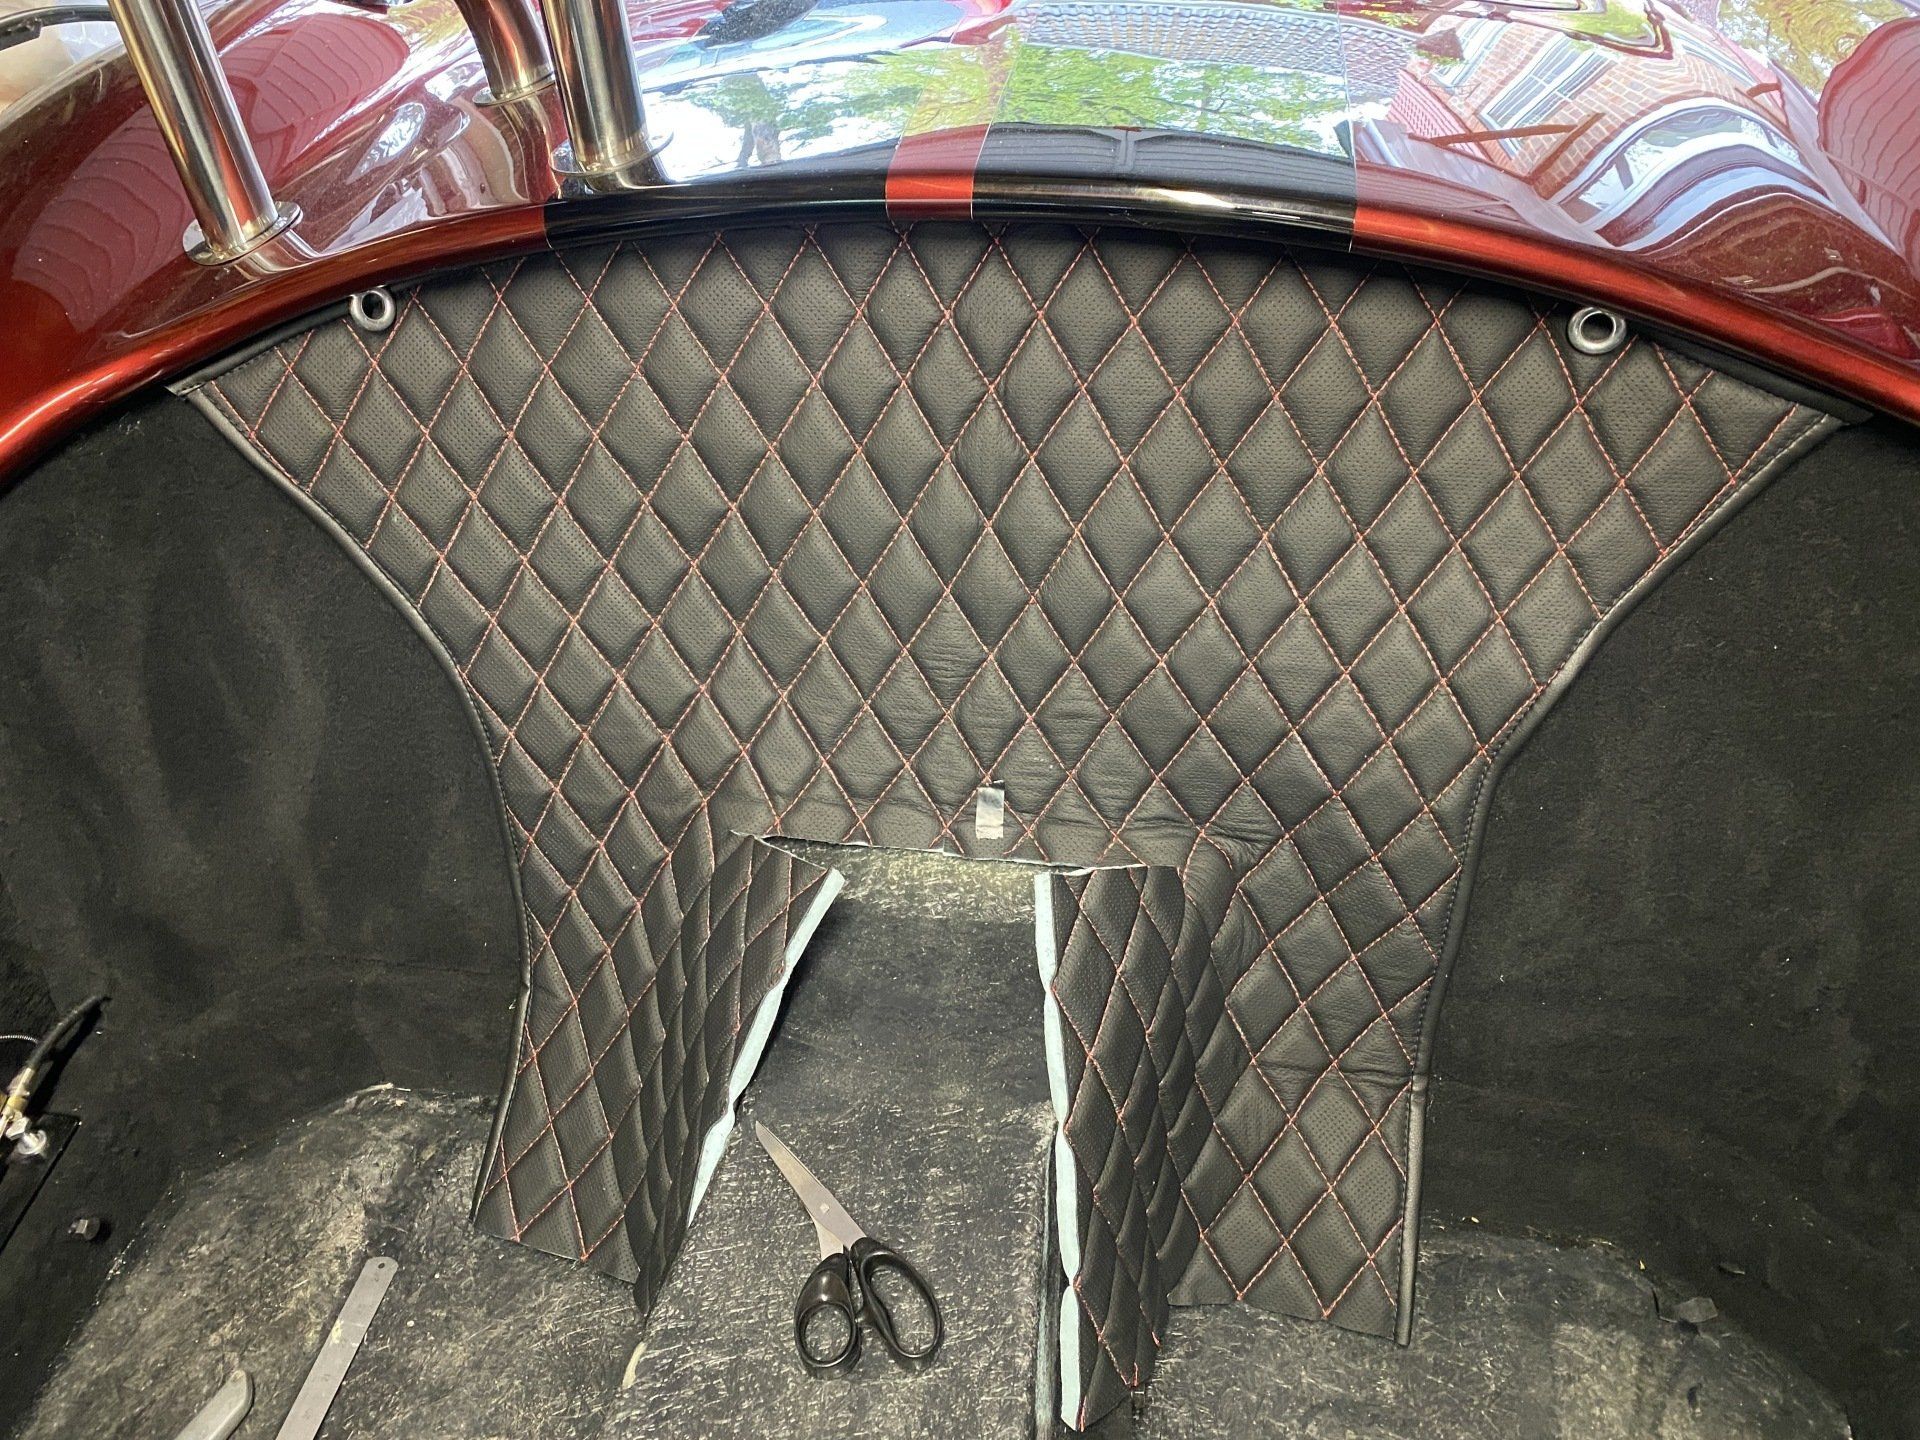
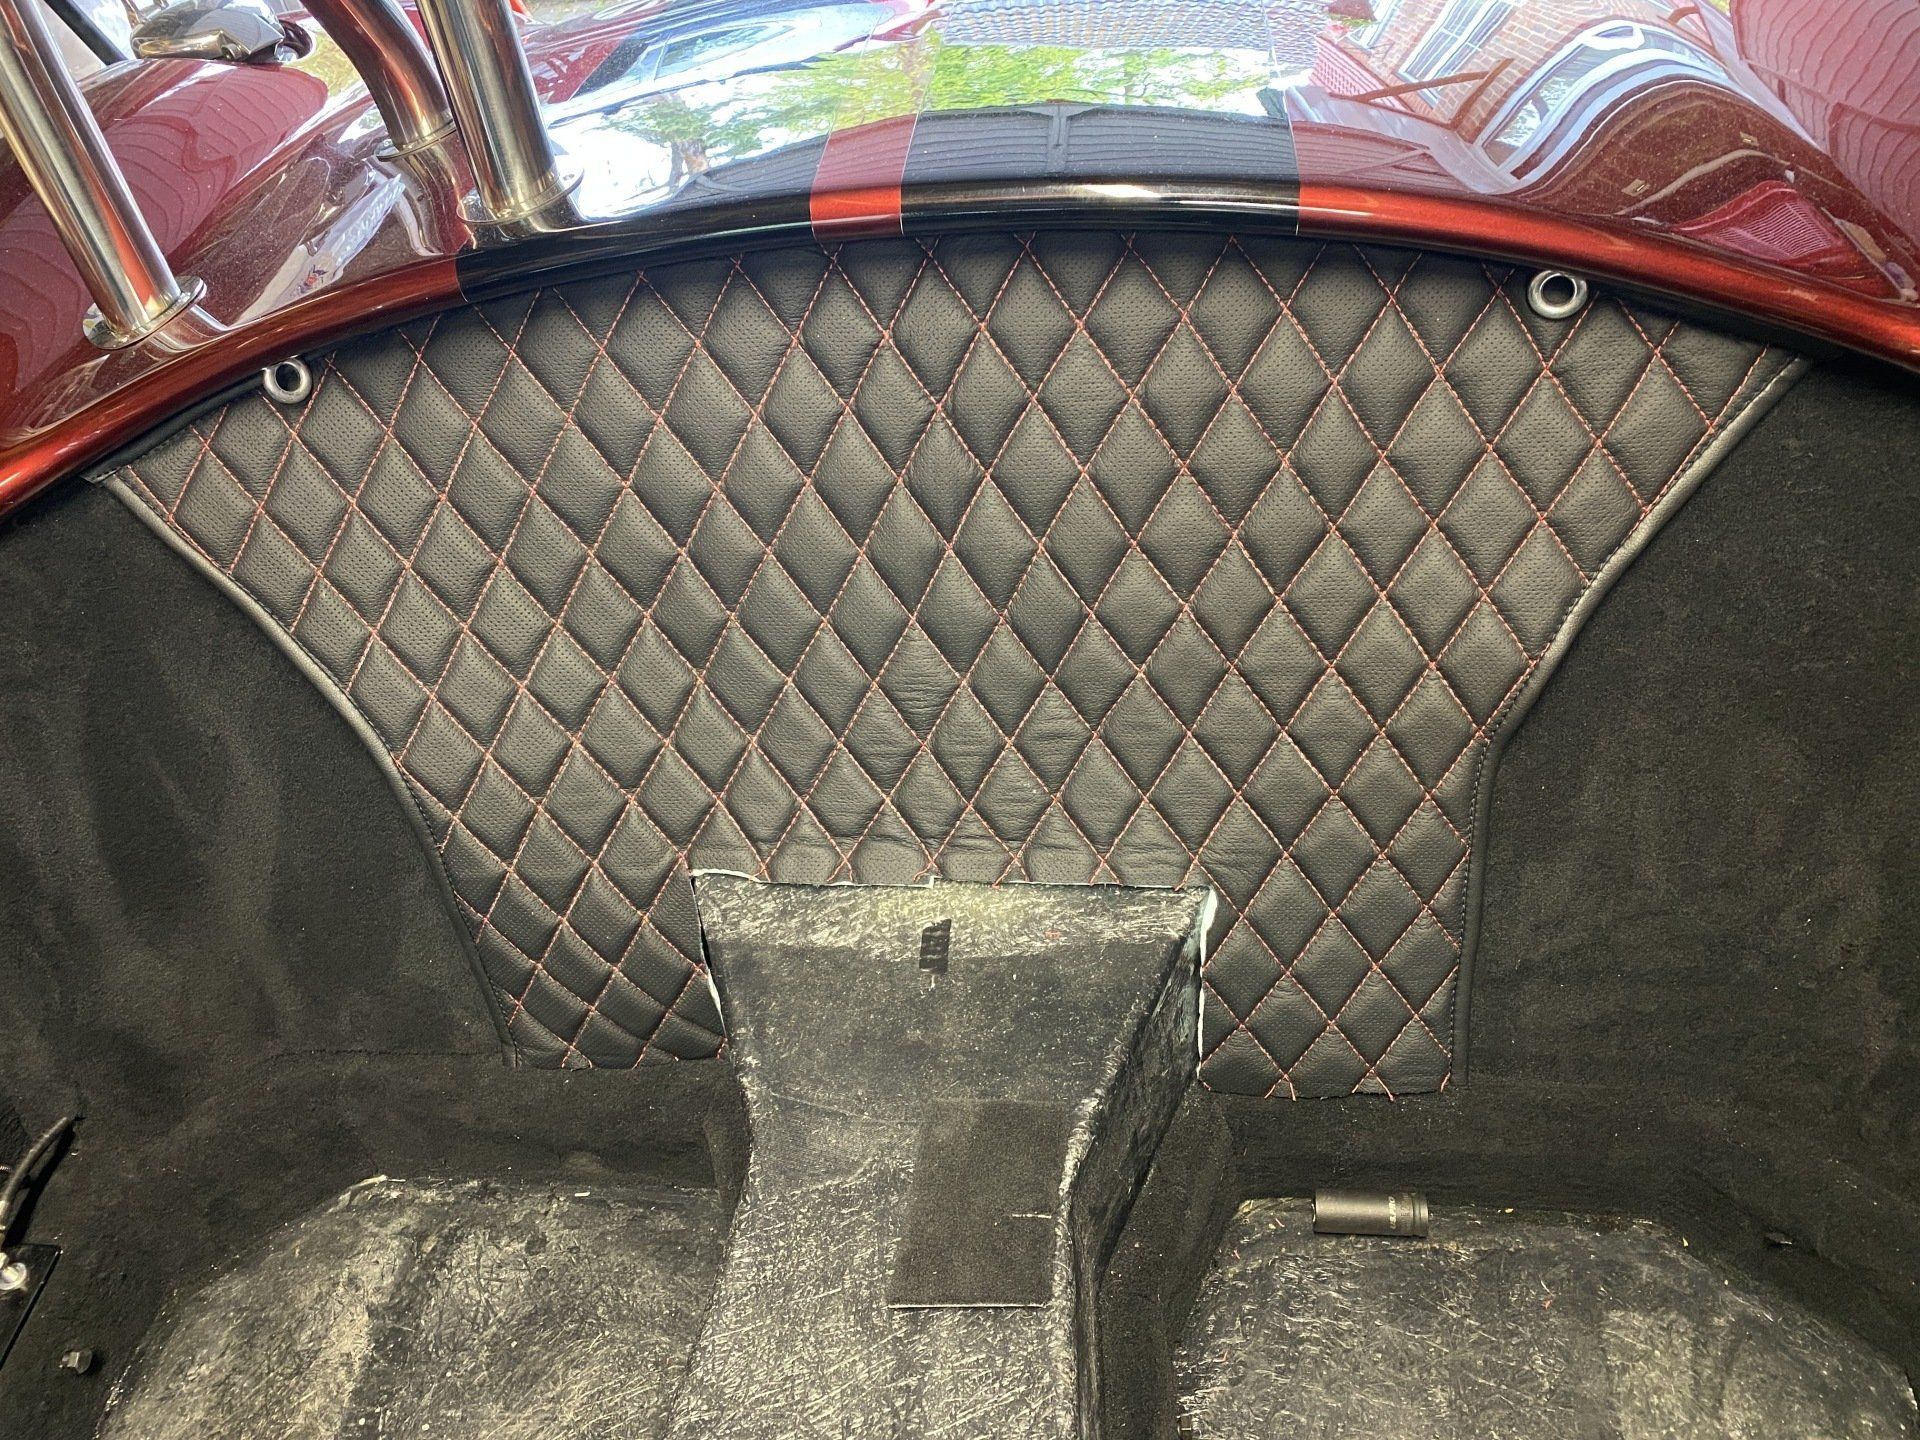
the back bulkhead does not cover the complete width, so you must install carpet first.
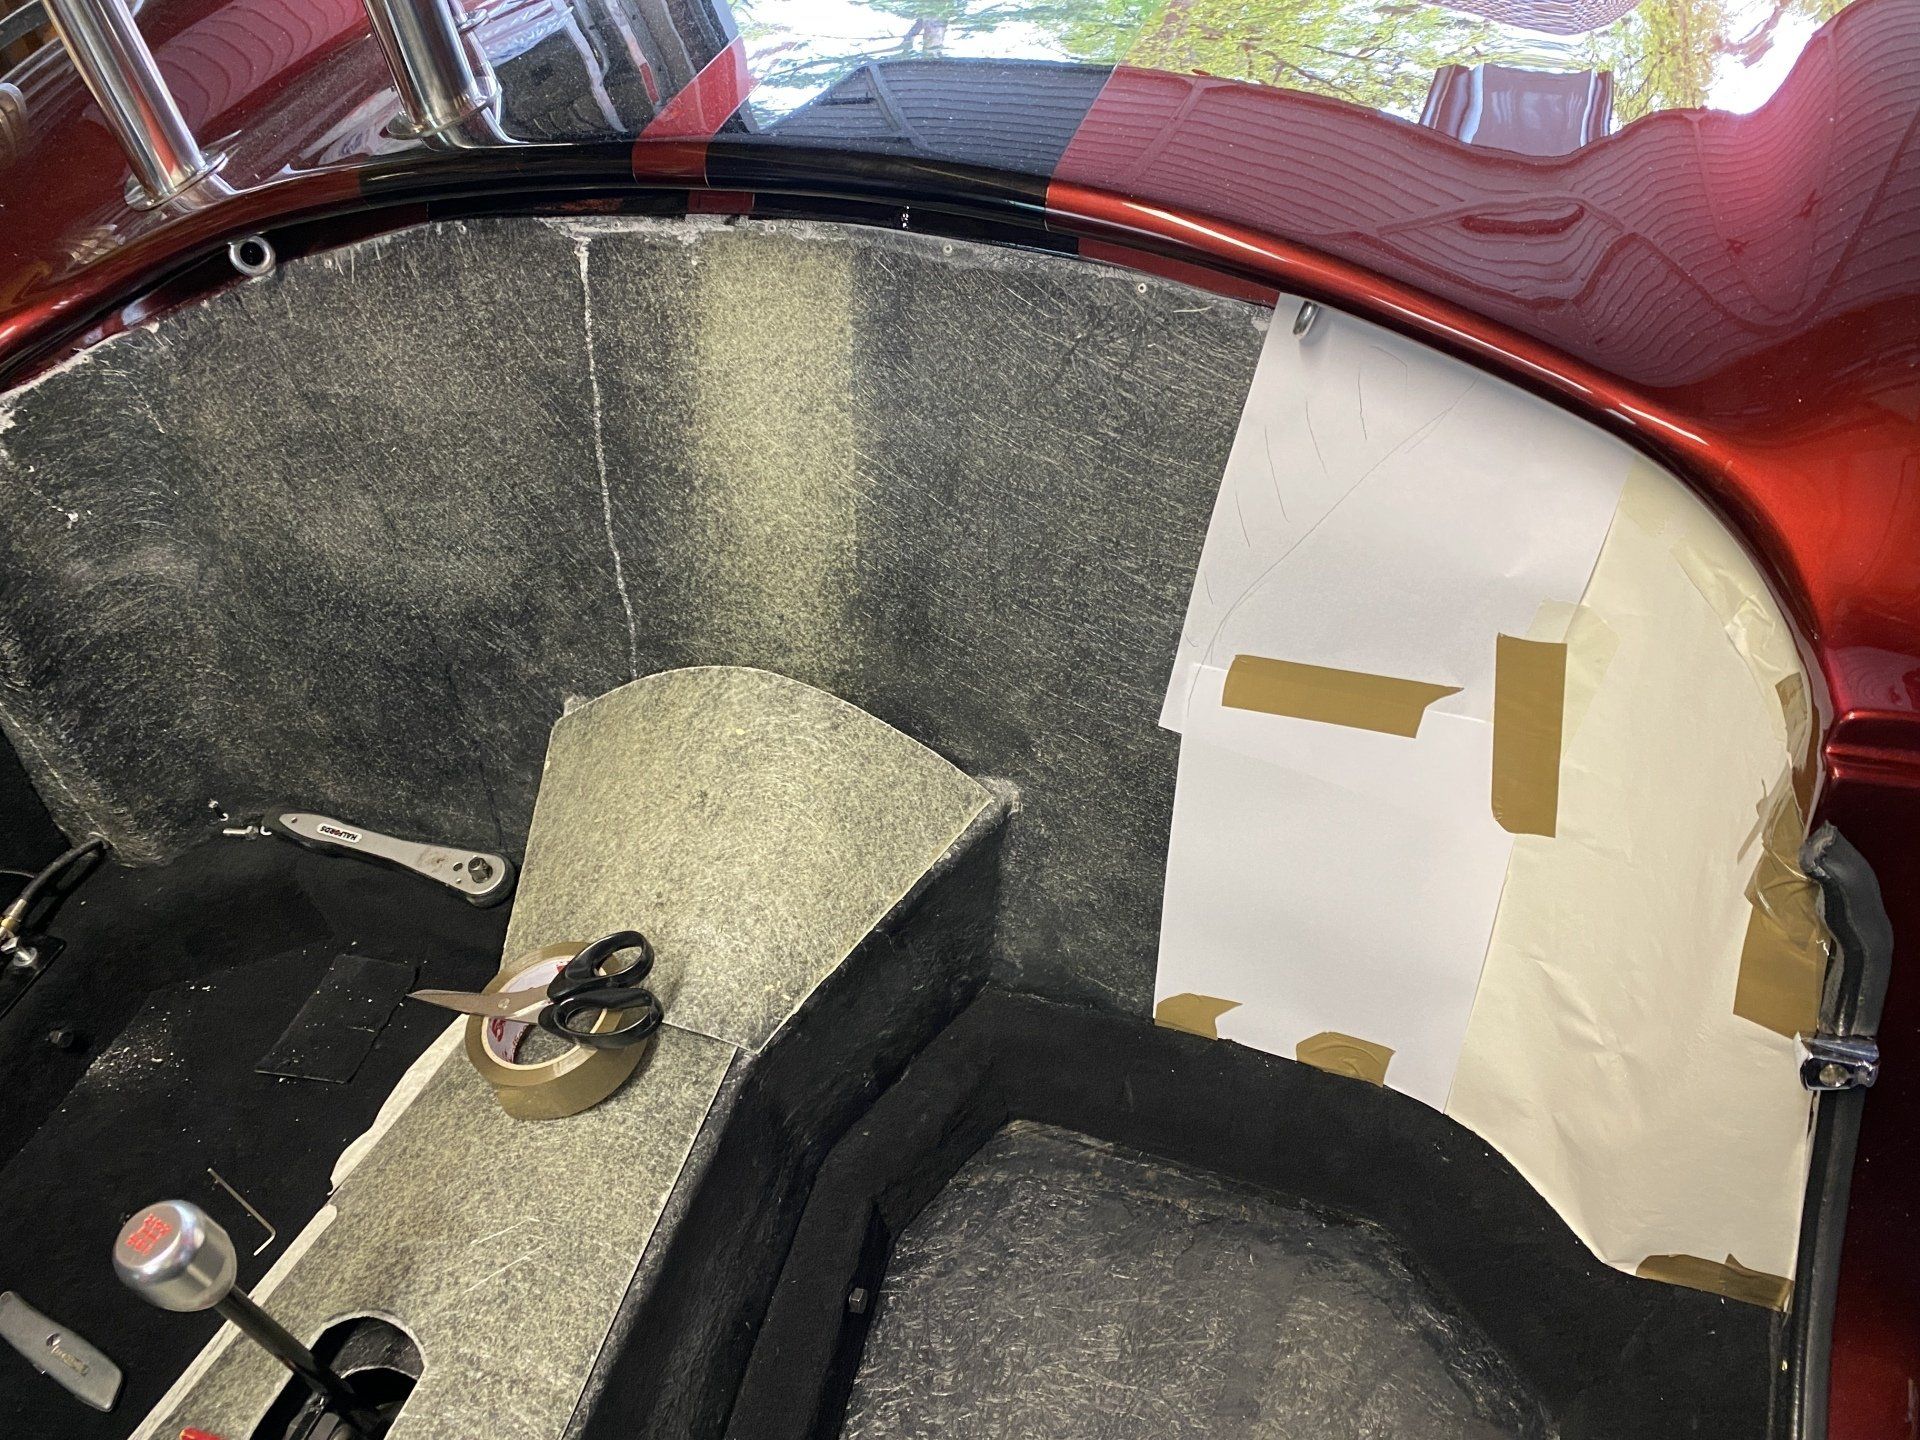
mark the edges where the leather back will fit, make a template for both sides ensuring you make it large so the carpet is larger and overlaps where the back fits..
When sticking the carpet, dont stick the last inch or so where it overlaps as you will be trimming and then sticking.
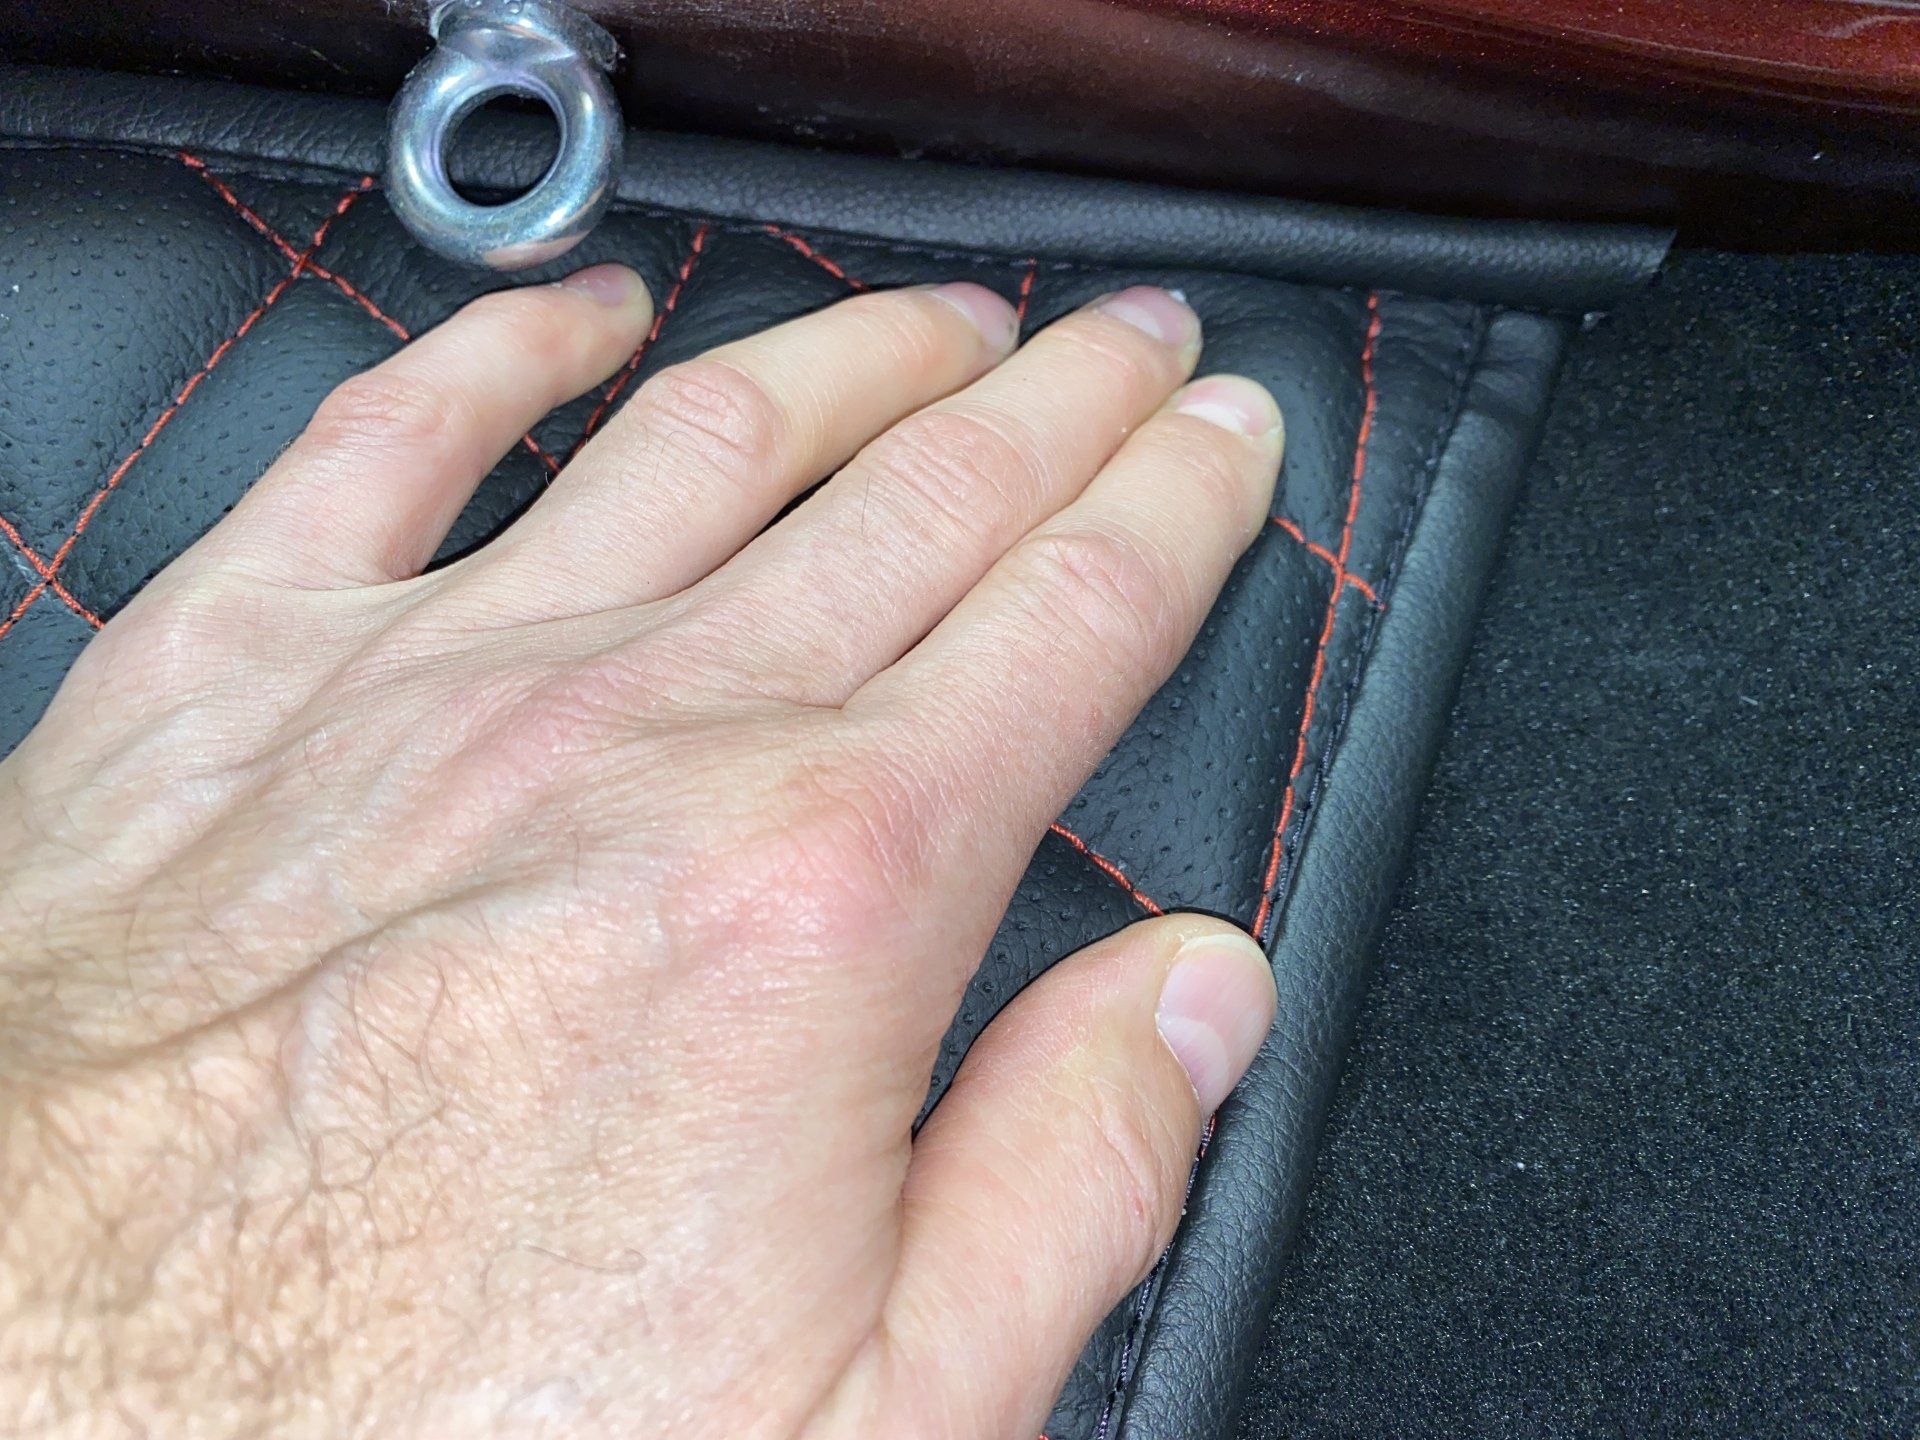
now you attach the back leather, but only apply adhesive to a small section near middle\top. This is the only time I used spray adhesive and it worked really well.
It is easy to spray a square and you dont need to wait 10 minutes like the solvent glue.
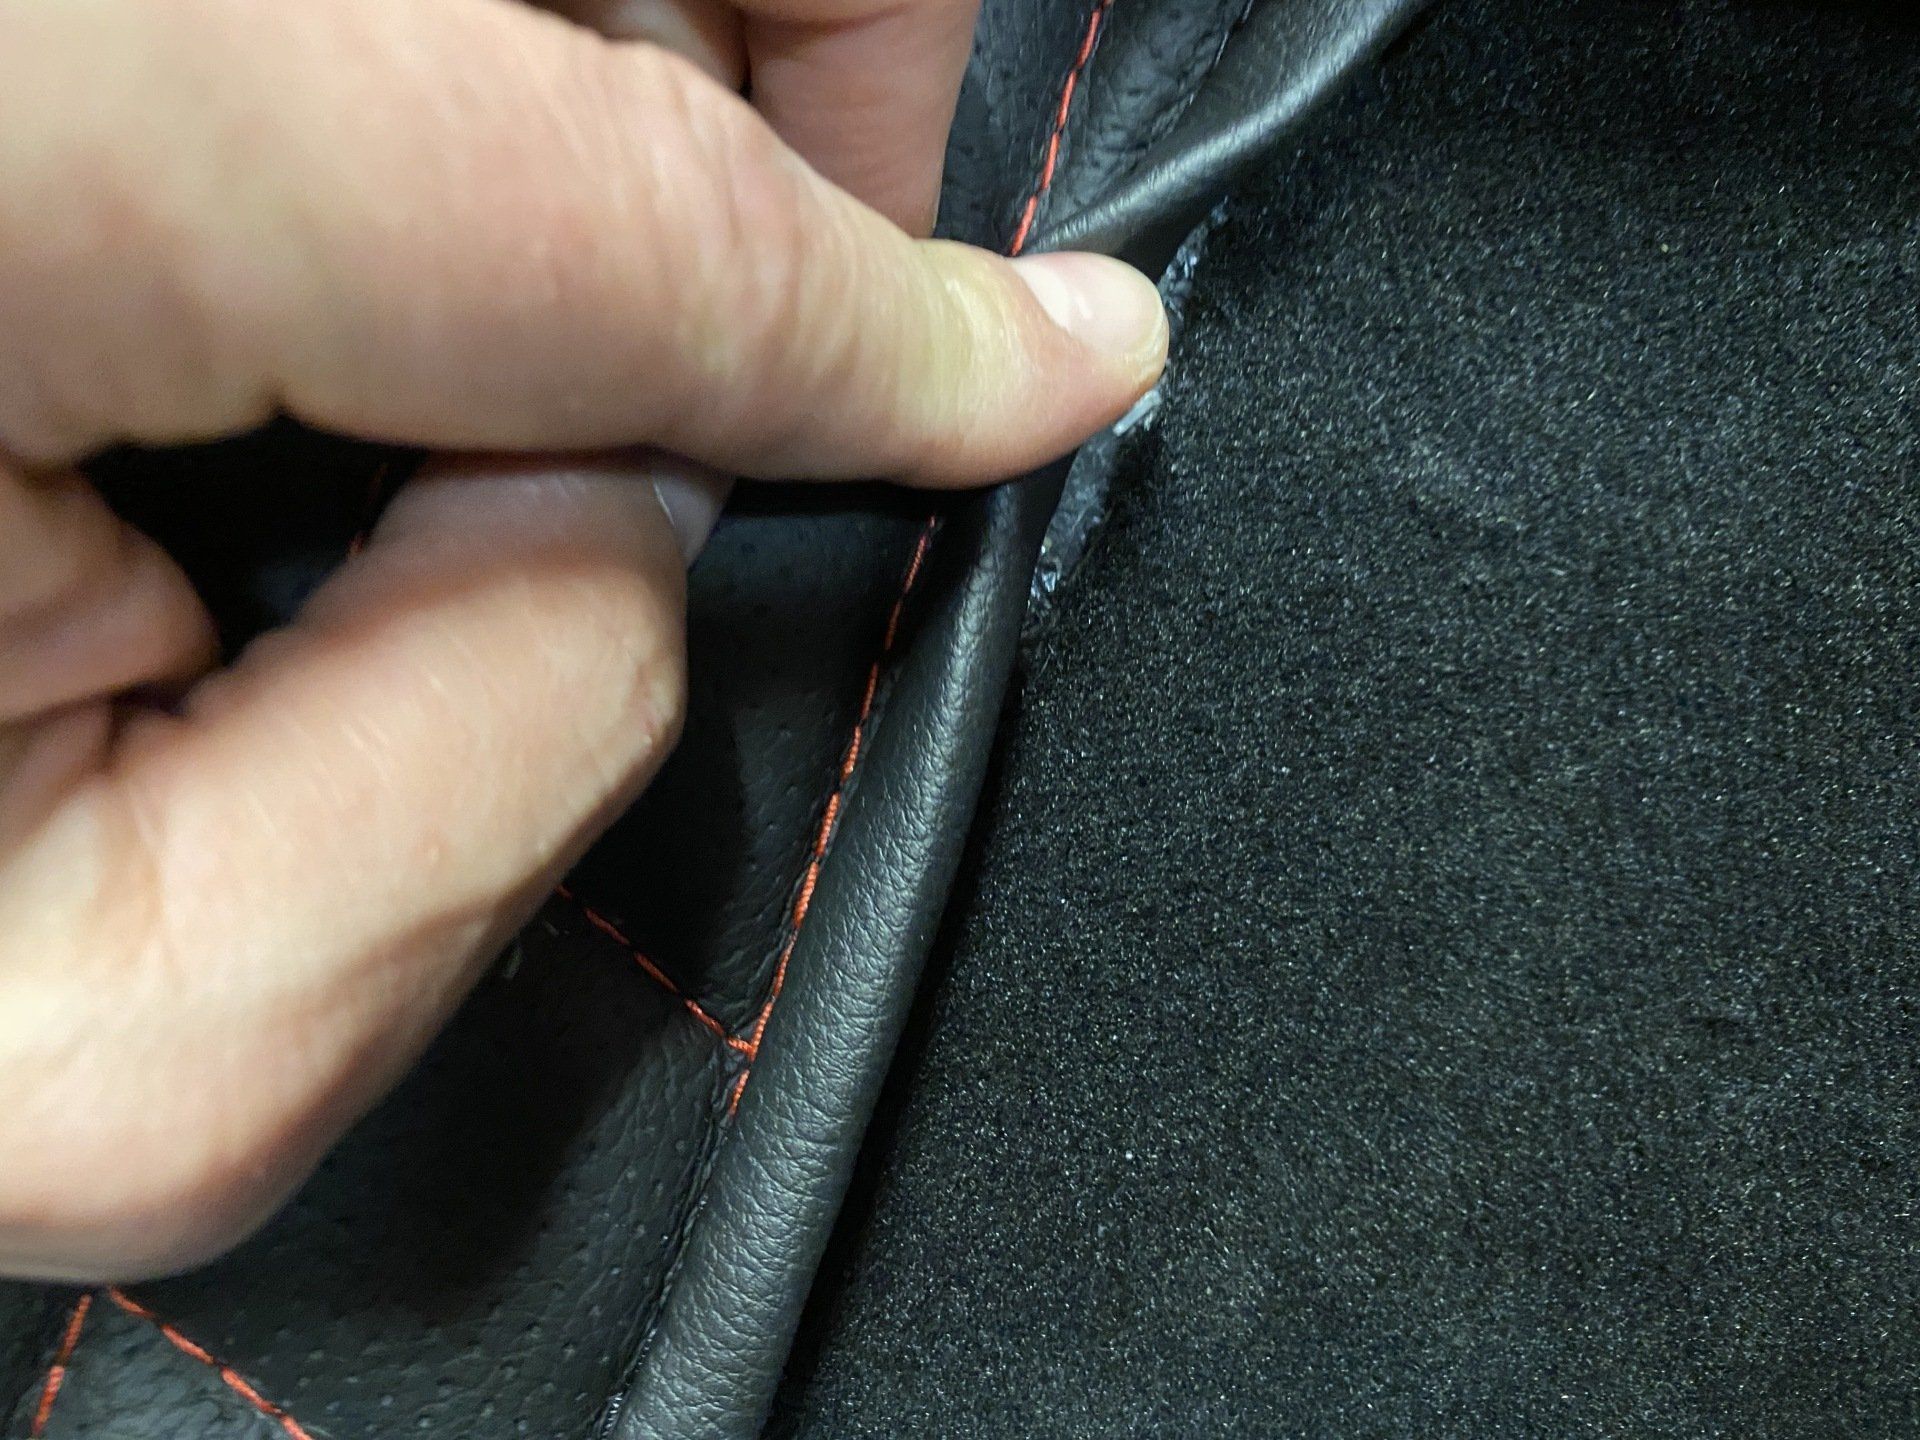
Ensure the leather piping along the top is forced right up under the lip, perhaps even folded over slightly towards you. Remember you are only doing approx 10 inches.
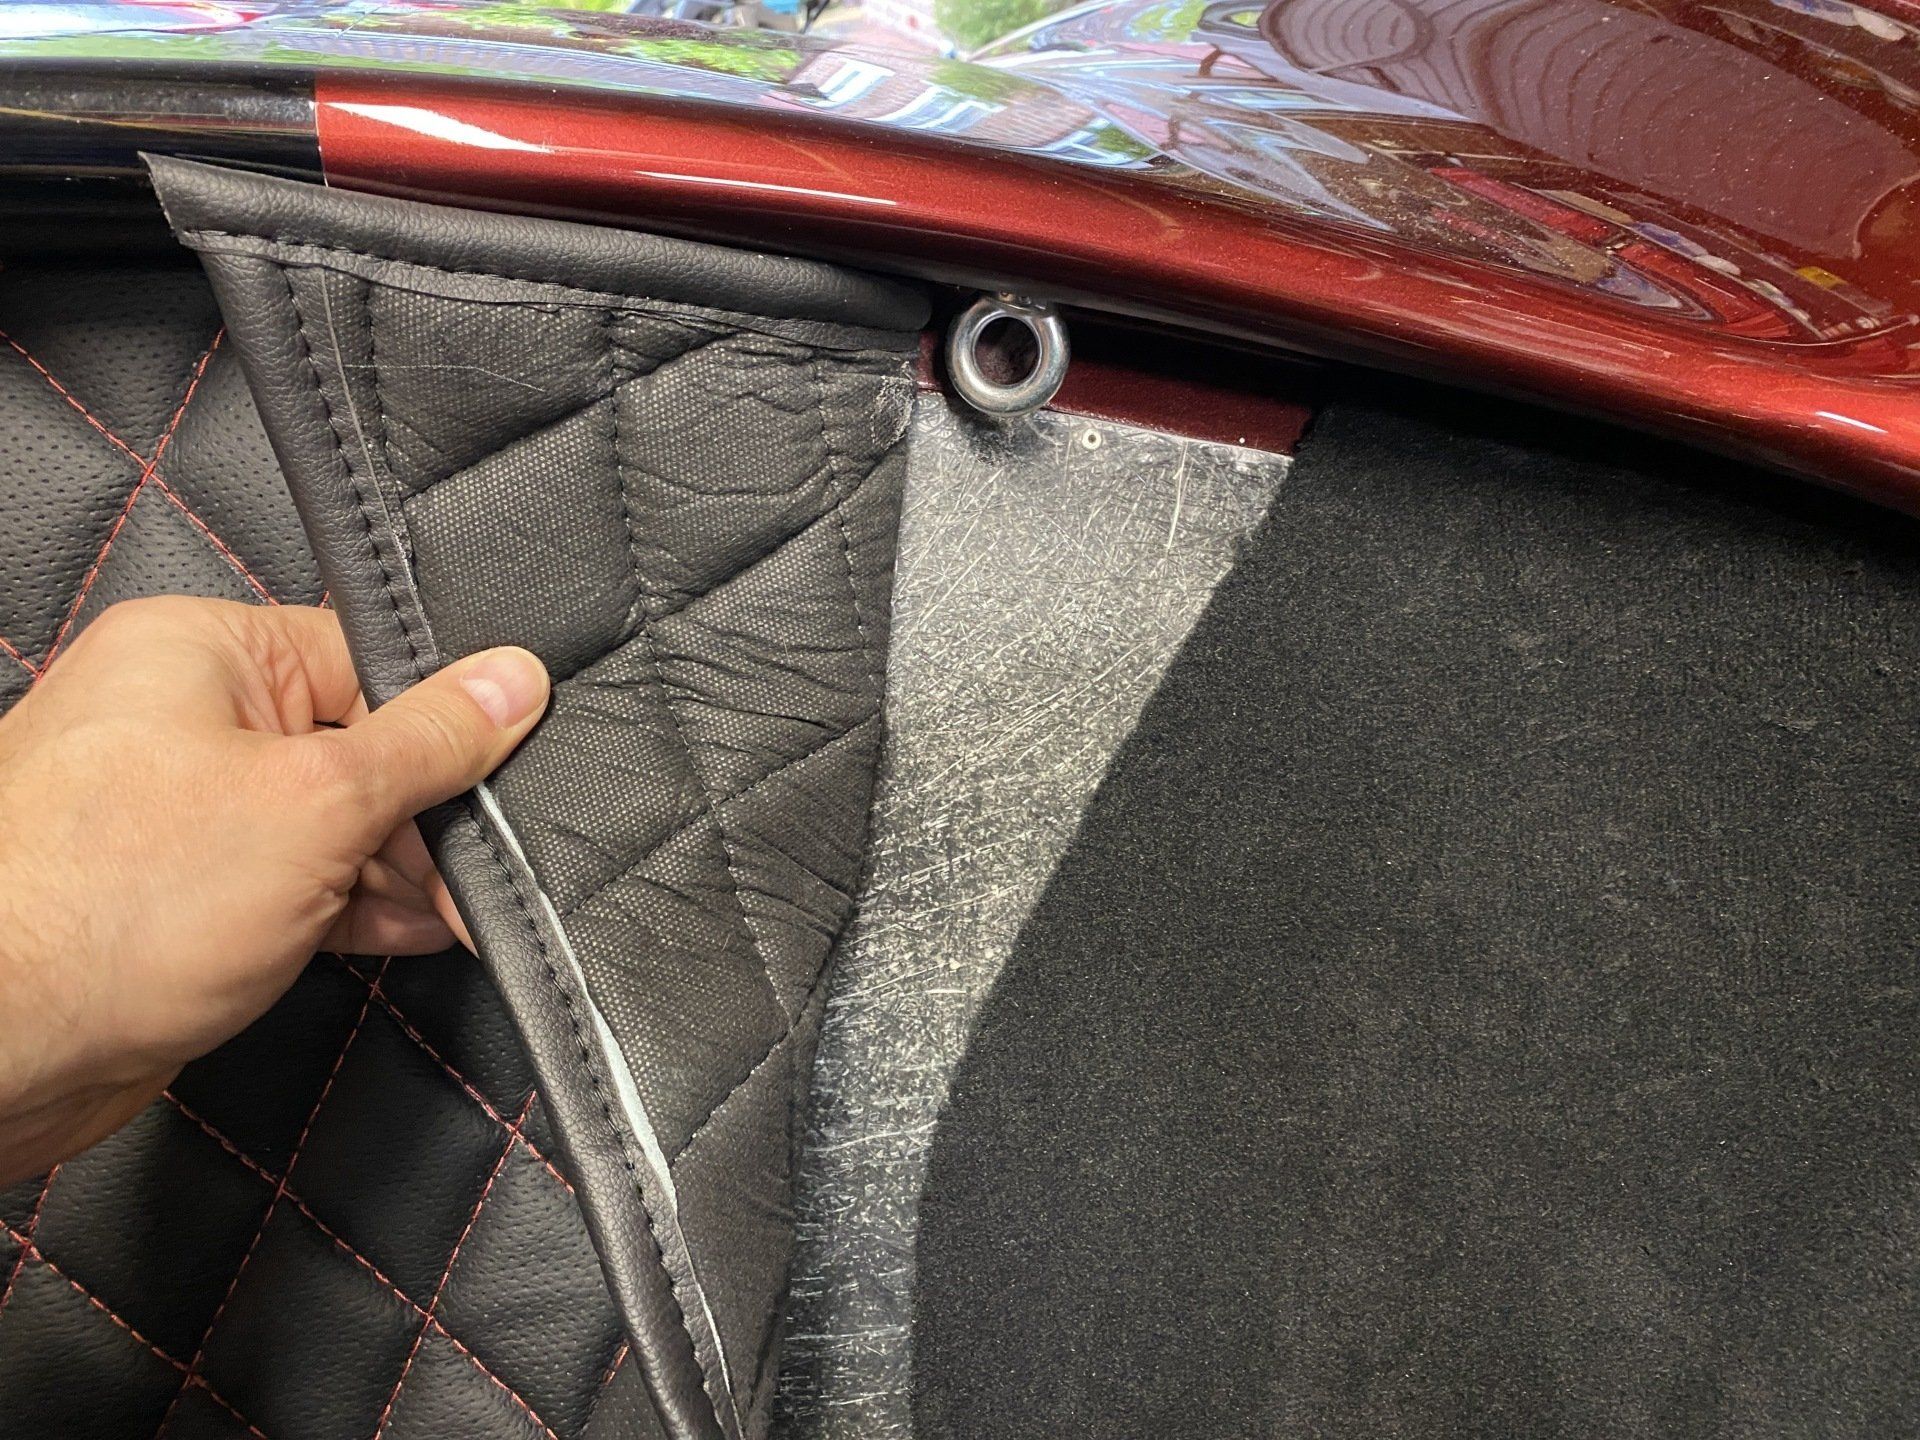
Once happy then lift up the leather and spray a little more glue towards the tunnel, just to hold it all firmly.
Now you can start trimming around the tunnel and the sides. The side piping overlaps the carpet by 5mm or so.
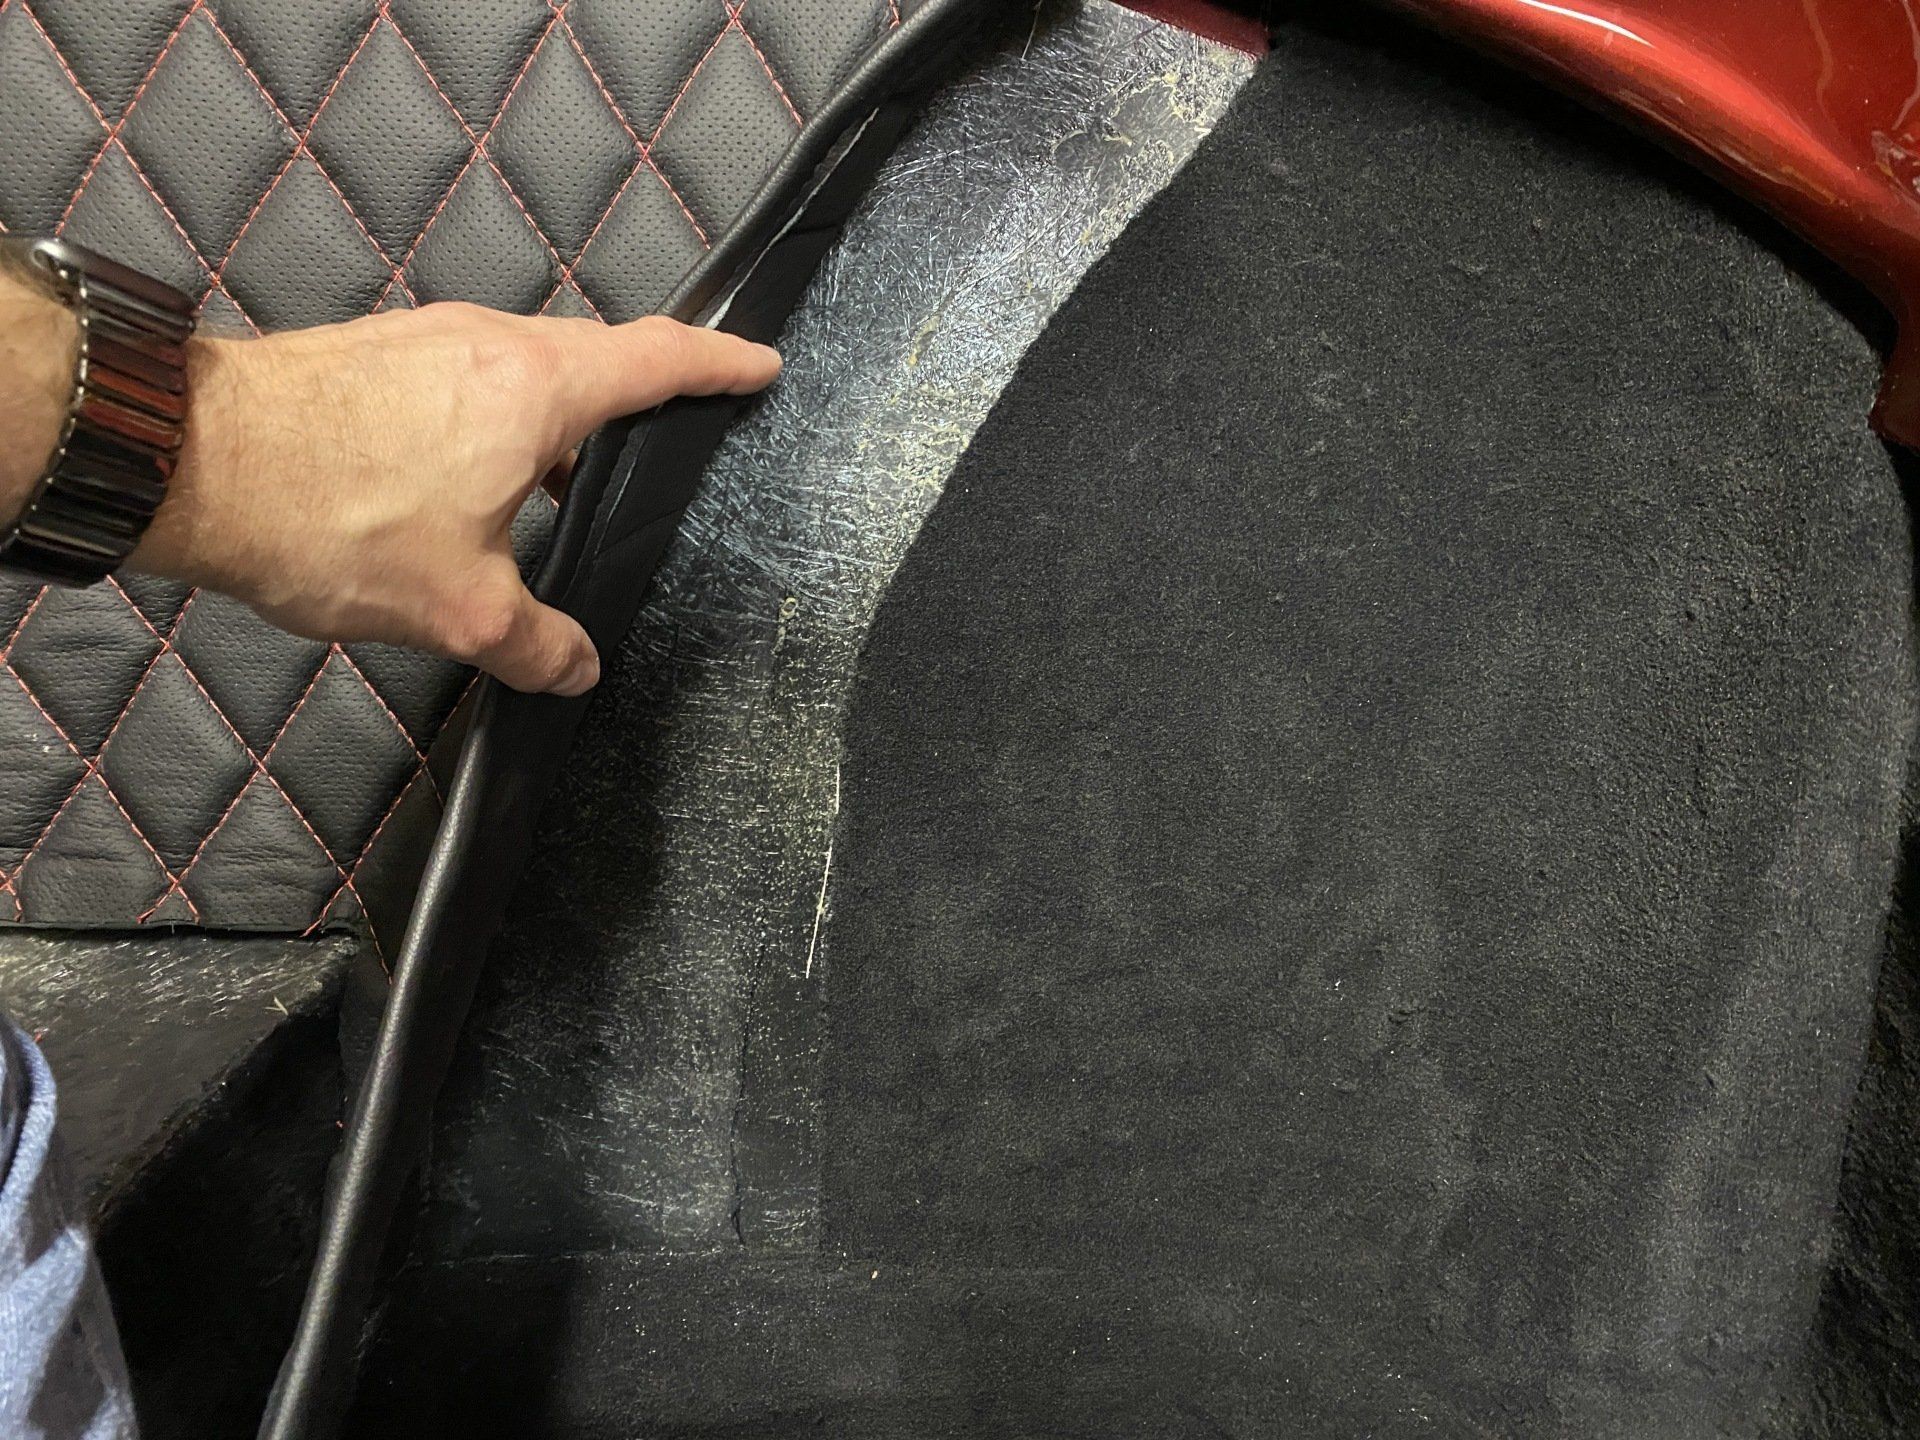

Finish trimming the tunnel and then fit curved top if your having it. Glue top of tunnel nice and evenly and then once dry you can glue the carpet sides down straight without kinks. Sharp knife can trim the excess at the bottom.
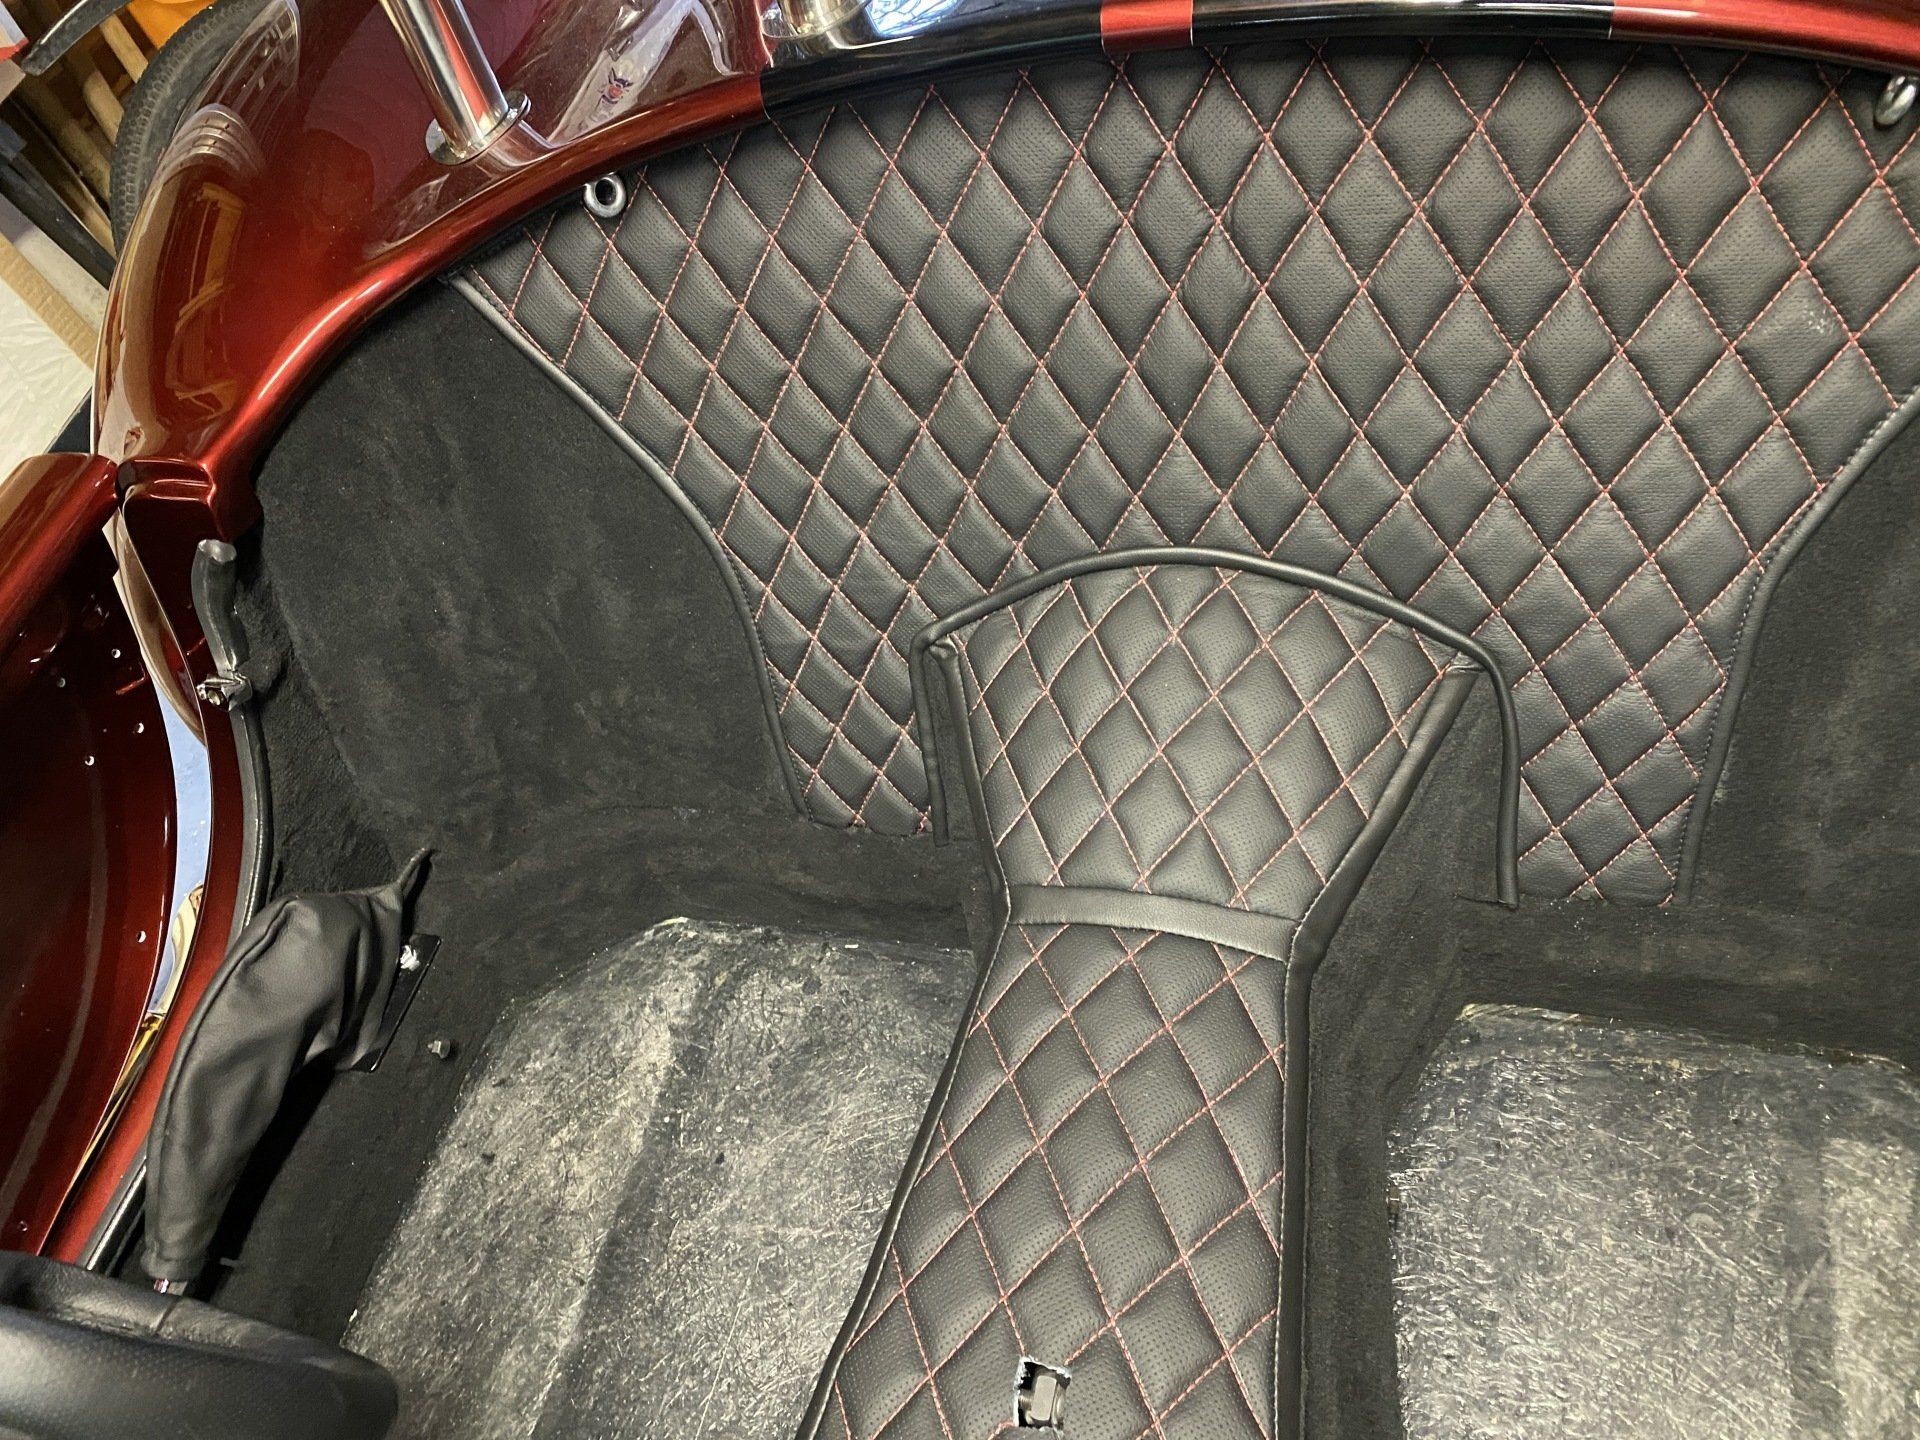

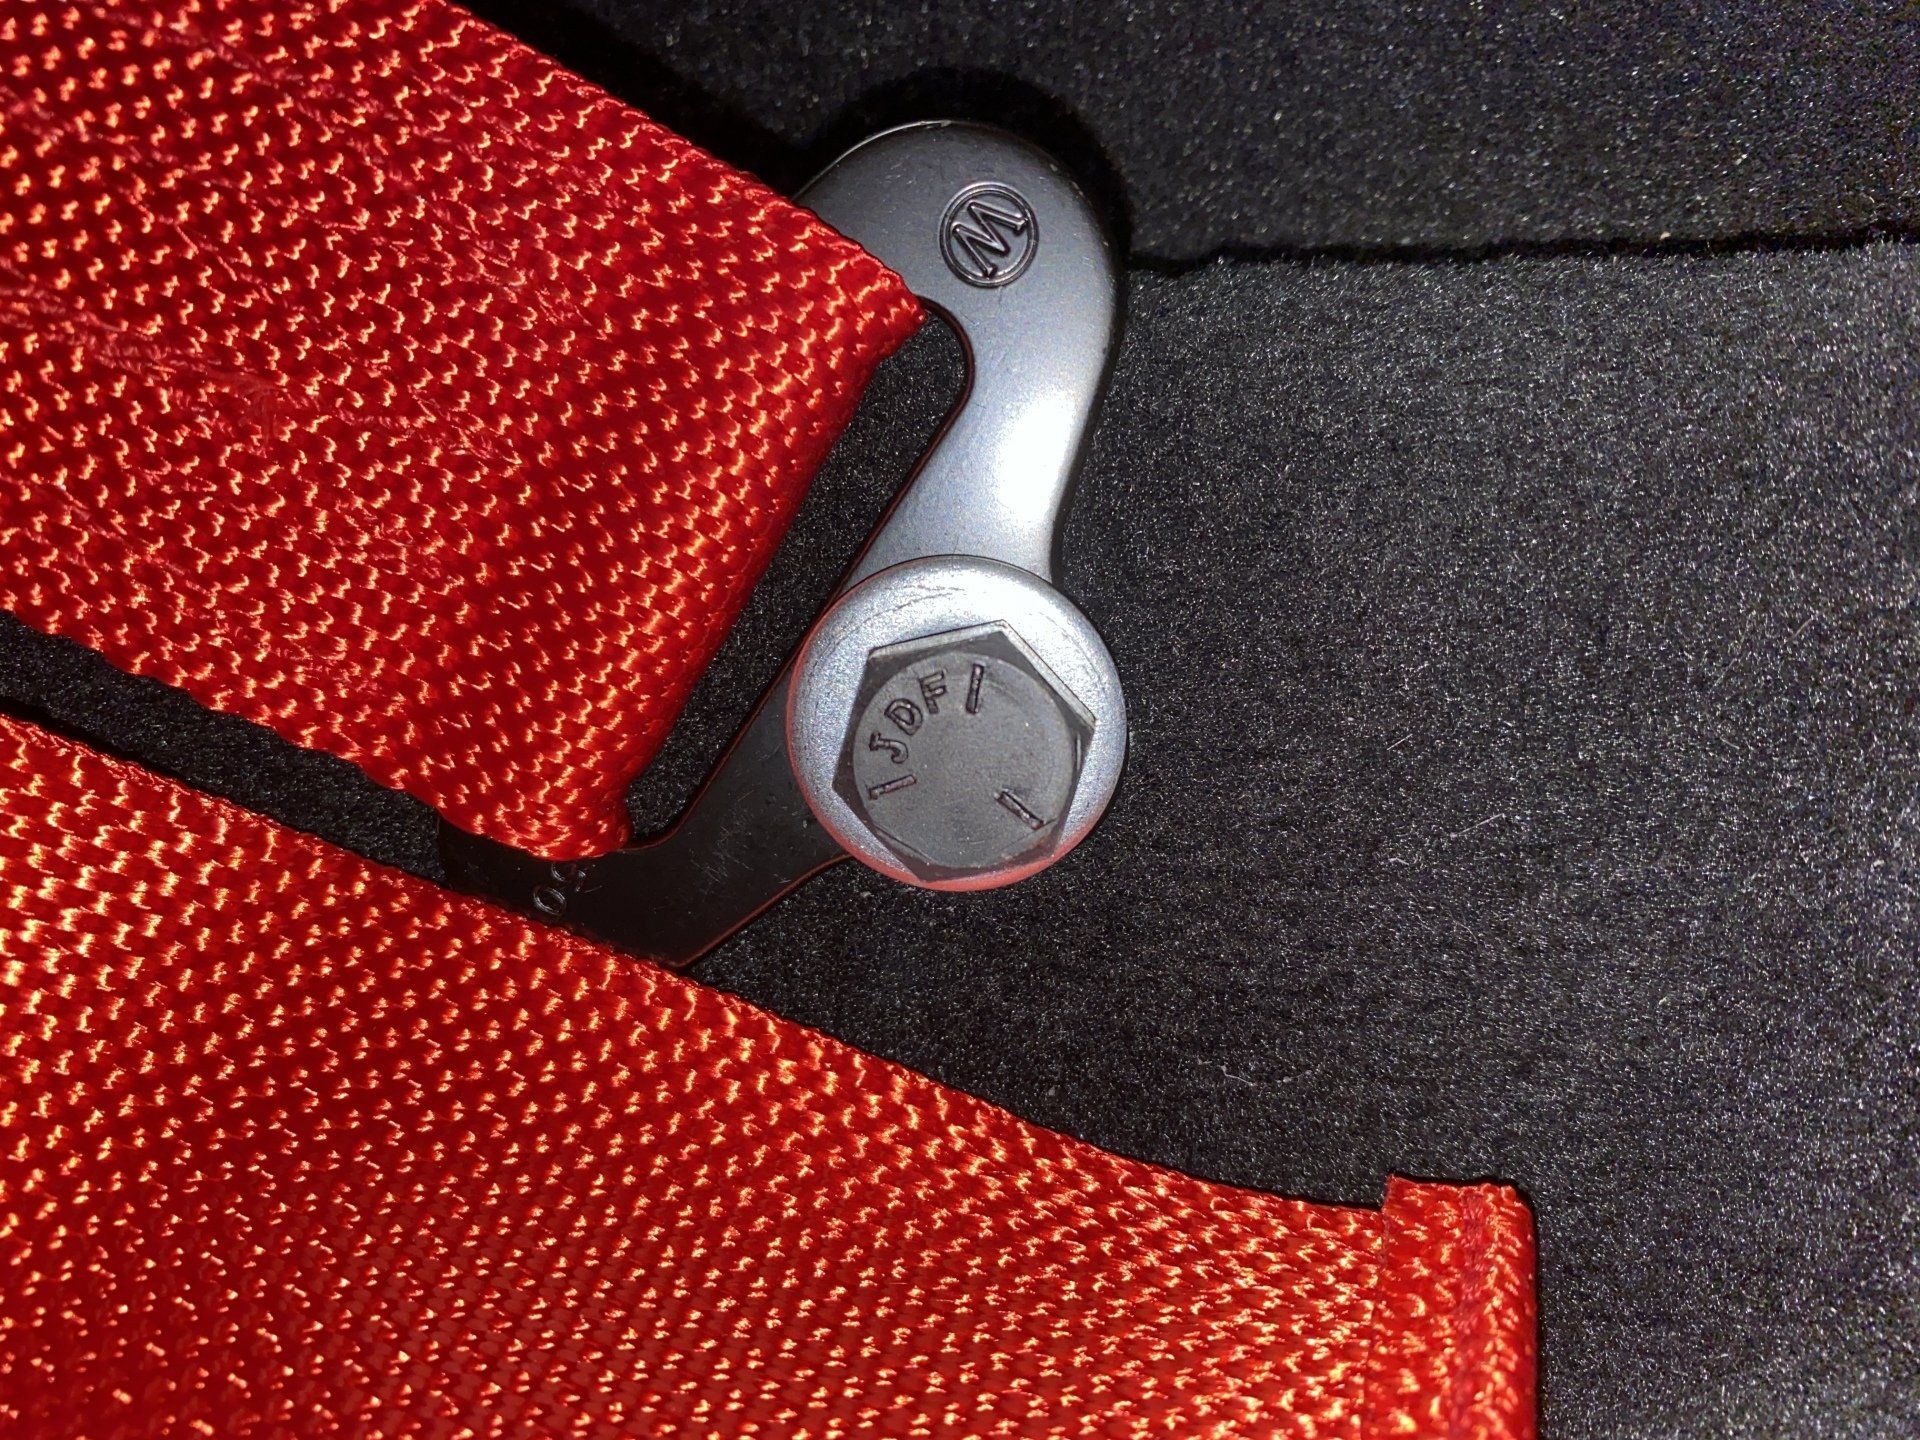
Harness and seats fit as expected. If fitting the AK seats, you need to fit them a few inches forward to allow access to the bolts to fit the headrests for IVA.
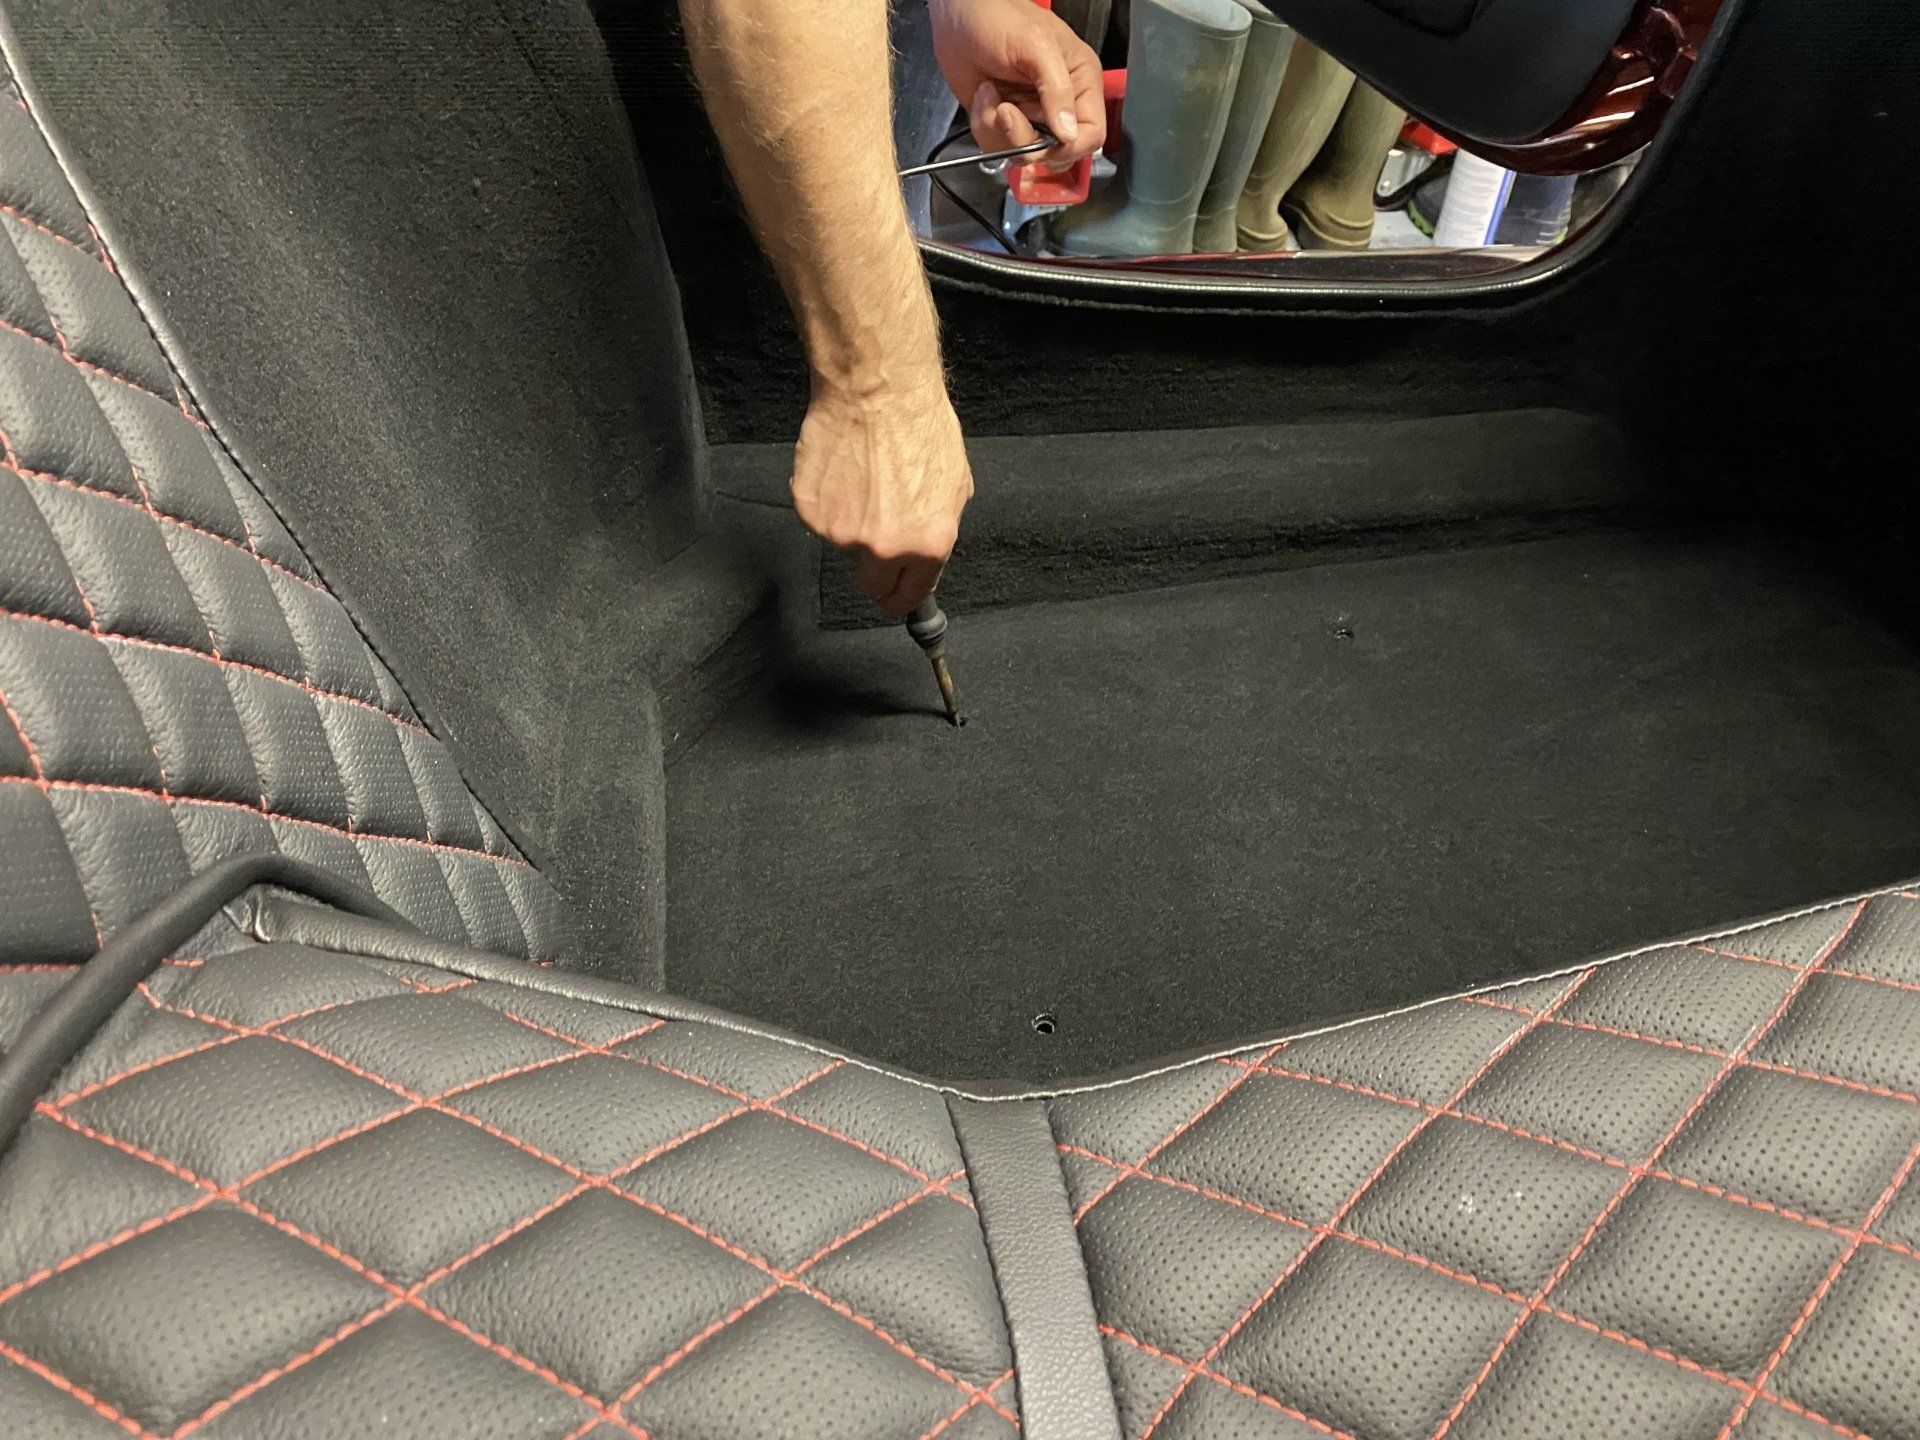
Once done, you can drill new holes in the seat base to set it back closer to back.
Use an old soldering iron to make neat holes in the carpet as it melts the hole nicely to stop fraying.
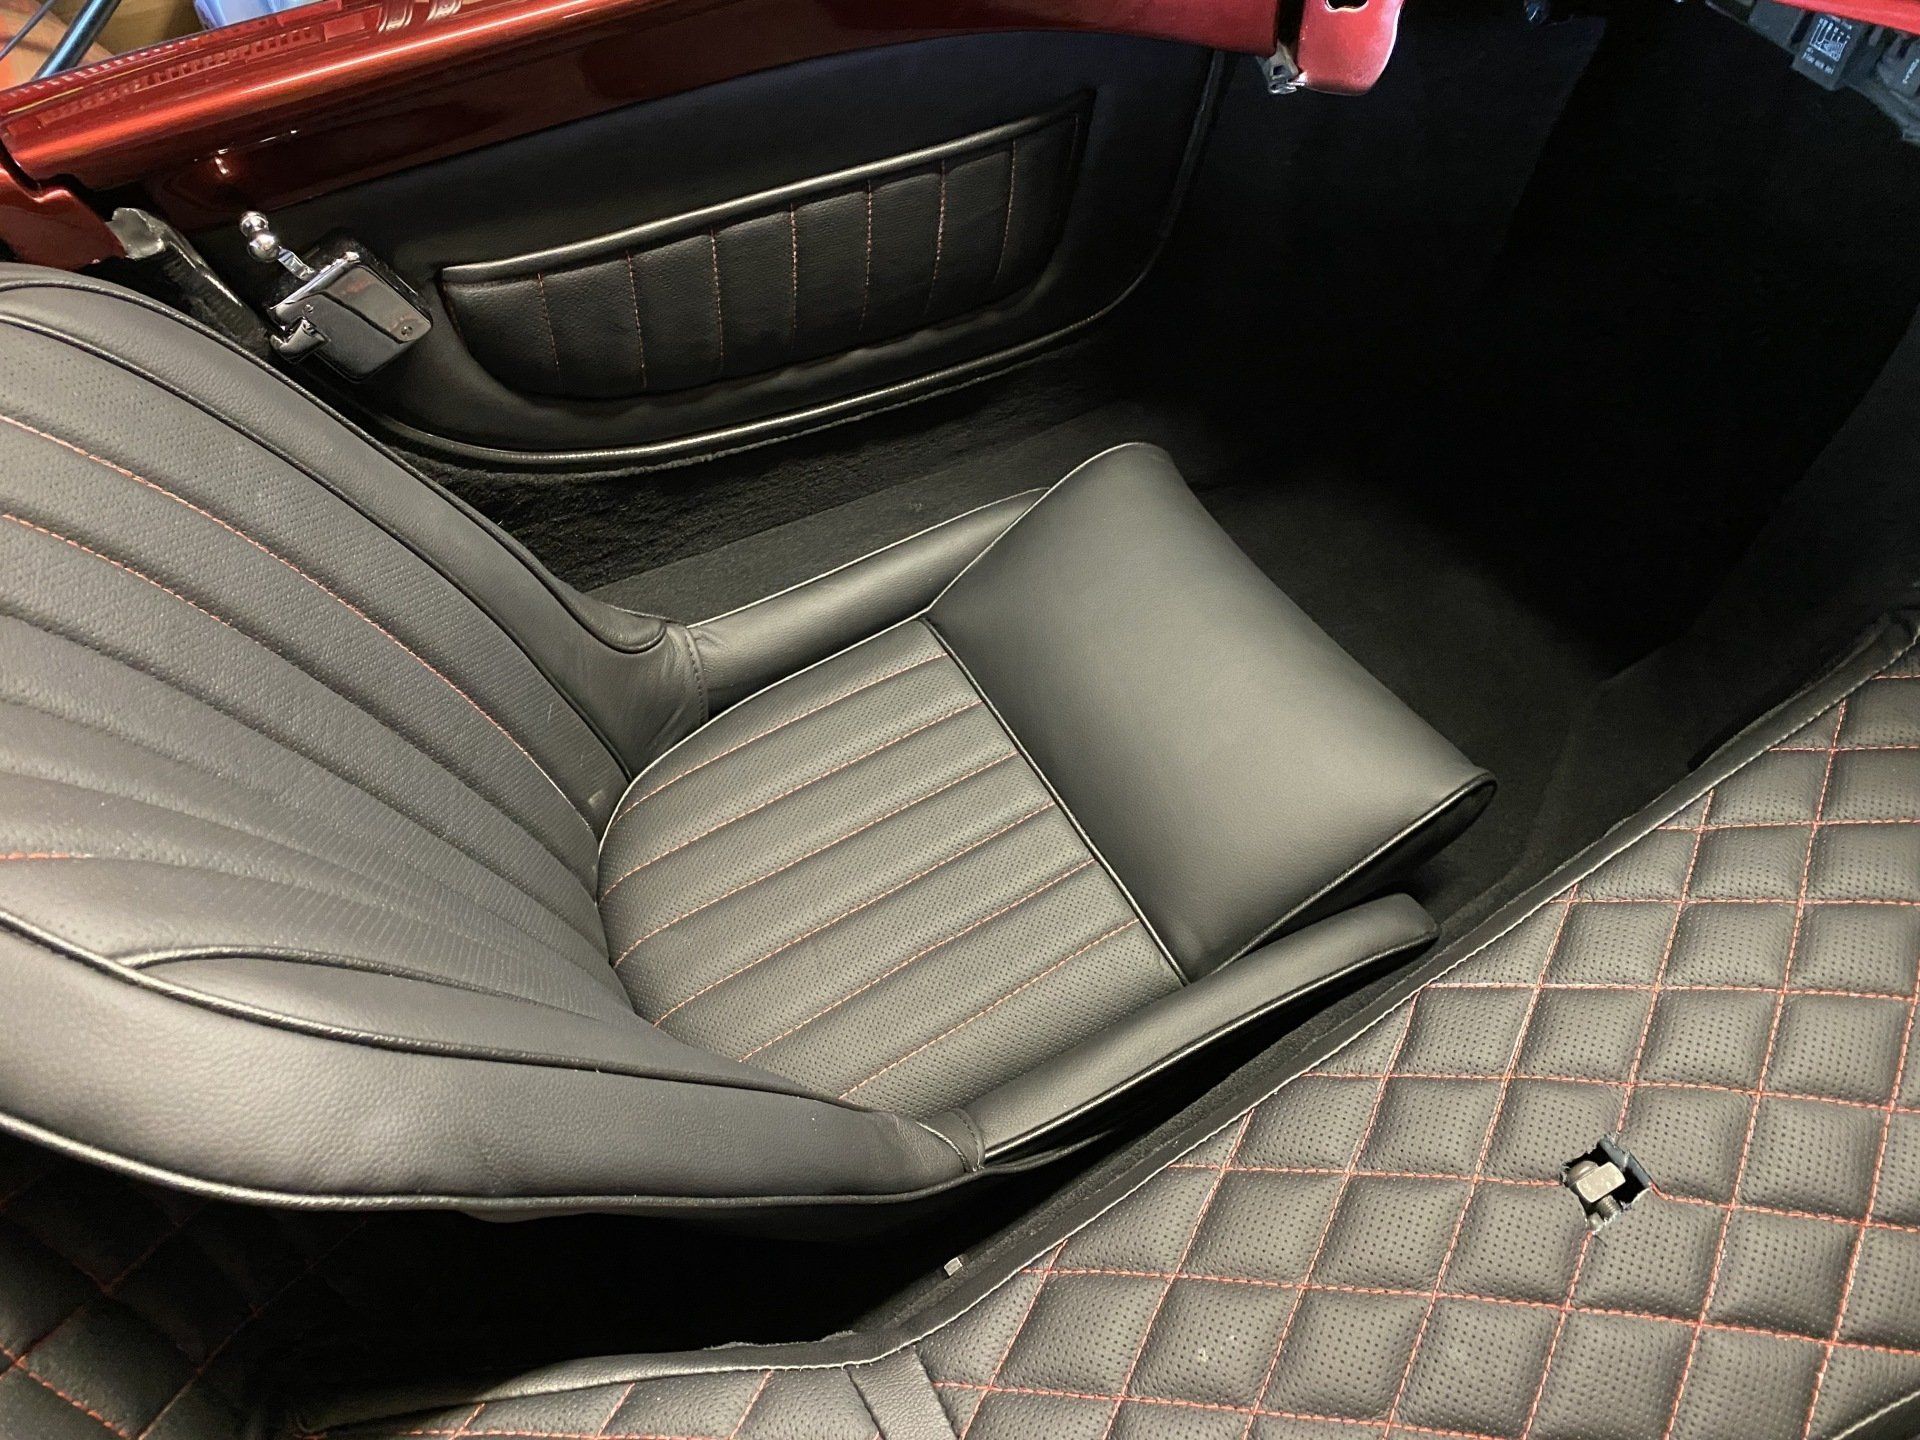
Your door cards should fit straight in, however I found one of my doors was hard to close as the card was slightly wide near the lock.
Its easy to pull back the leather and trim the ply board neatly with bevelled edge and then re-stick the leather.
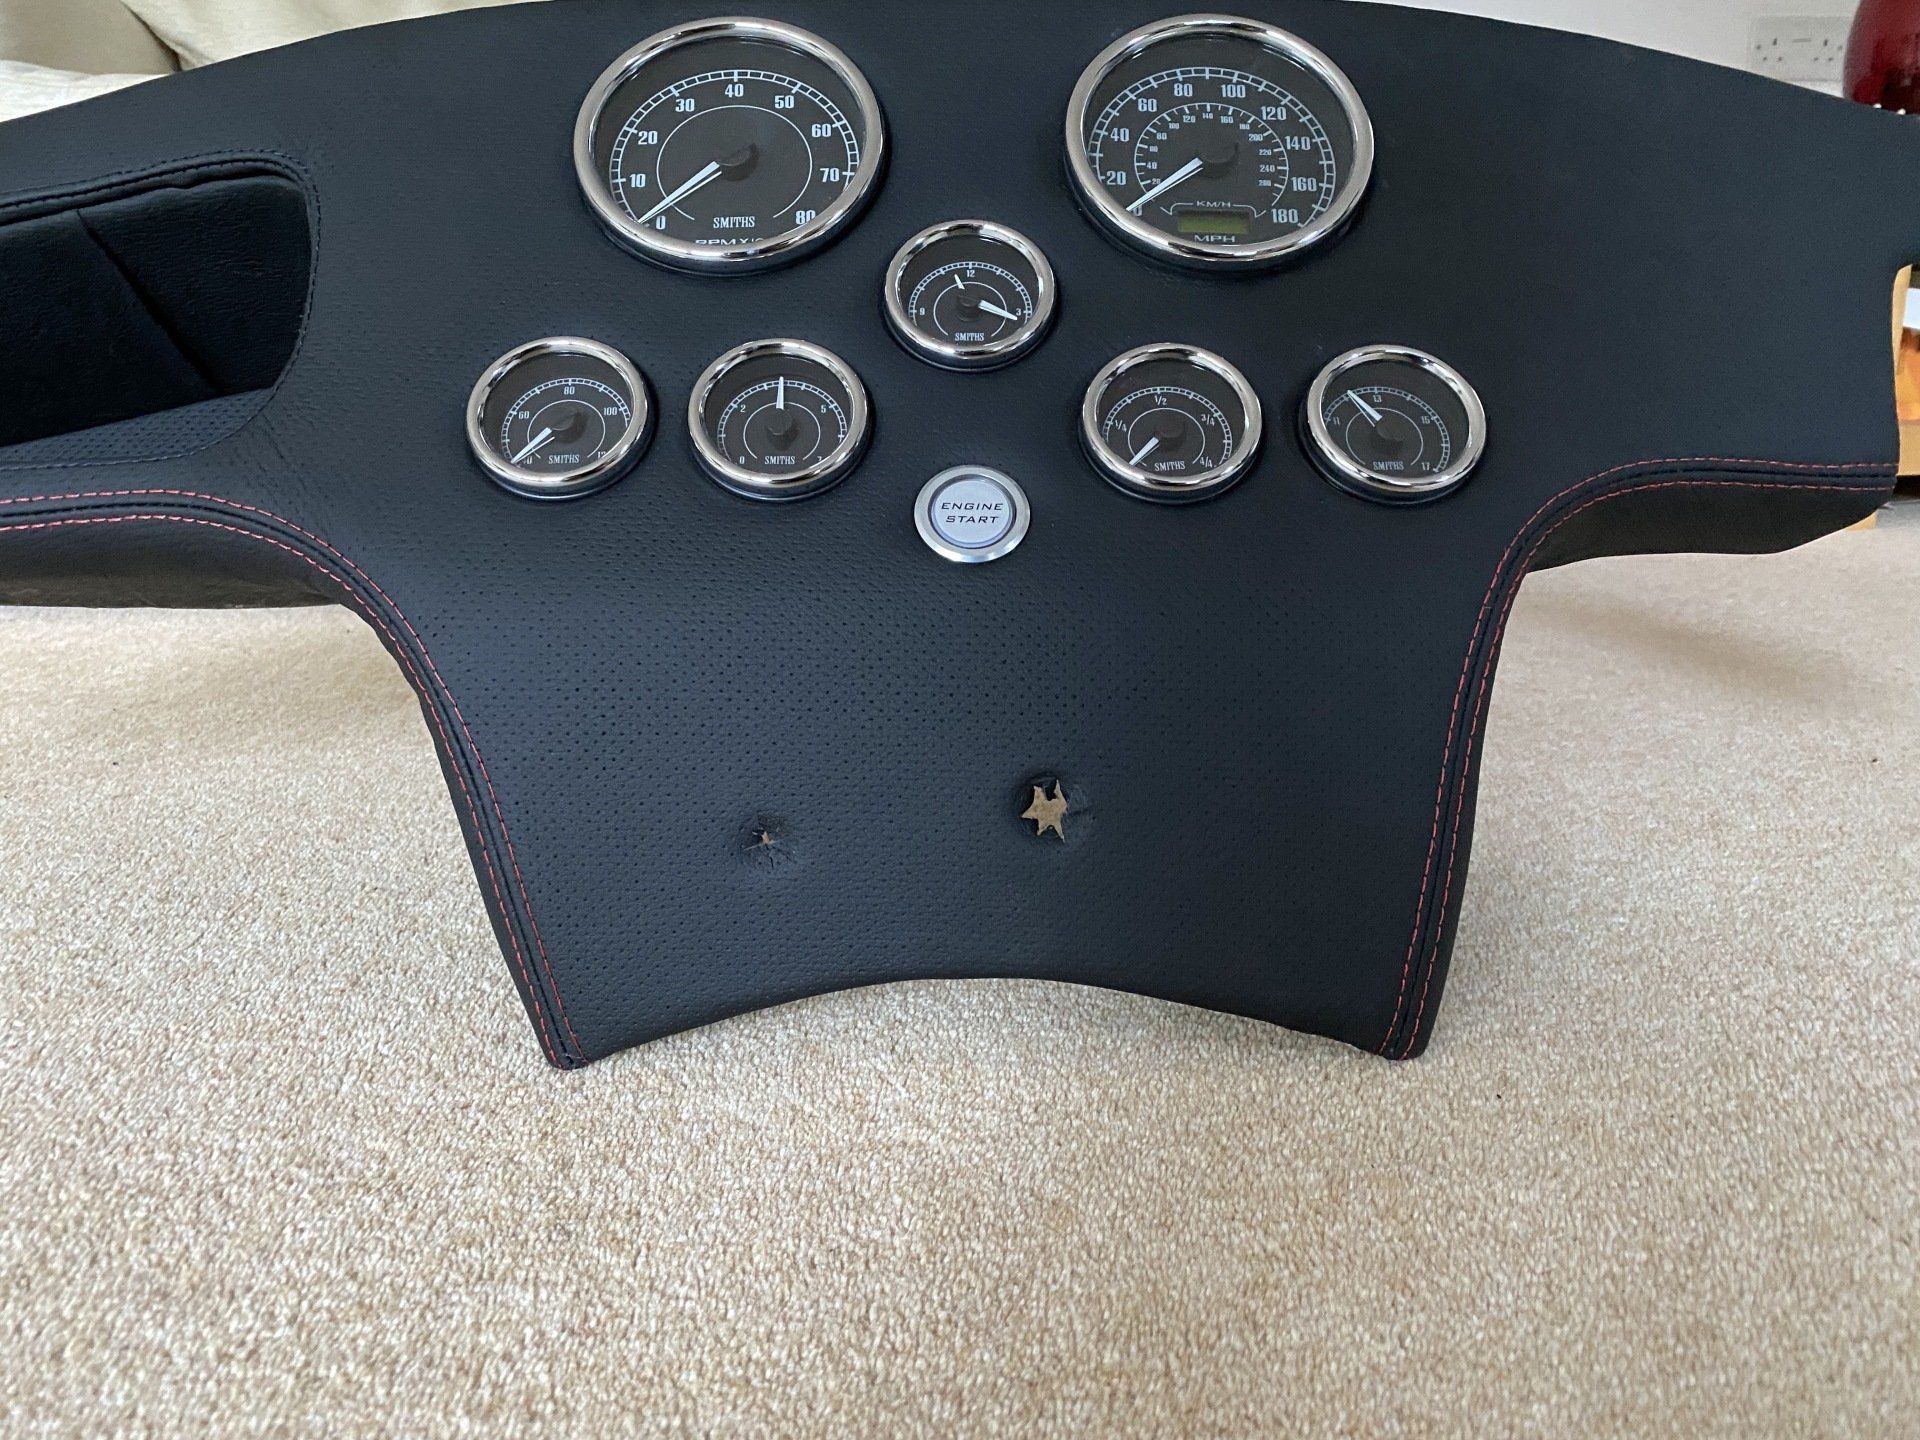
The dash should also just fit straight in. Hopefully you made the dash the correct size before leather trimming. Remembering to take into account the thickness of padded leather etc at the bottom of the dash against the tunnel and of course to fit your dials.
I had to enlarge the holes for the buttons slightly, but done from the back should not ruin the leather front. Be careful.
The leather harness covers are fitted by making a 30mm slit to allow the round eye bolt to fit through to engage with the lock inside.